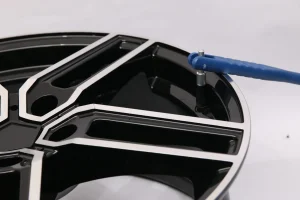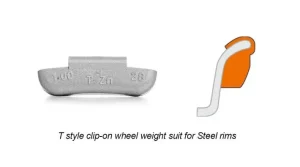
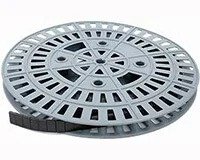
A wheel comes off the balancer with a 0.25 oz imbalance marked at the 6 o’clock position. The operator cleans the spot, presses on an adhesive wheel weights strip, watches the display drop to zero, and rolls the wheel to the mounting rack — only to find the weight sitting on the floor three feet away. This is the single most common adhesive failure shops see in winter, and the cause is almost never the glue. This guide covers why stick-on wheel weights fail and the 5-minute fix that helps turn a “falls off after one spin” weight into a lasting bond.
Why Adhesive Wheel Weights Fall Off
The Hidden Cause Behind Failed Wheel Balancing Weights
More than 90% of adhesive wheel weights failures trace back to one variable: surface contamination at the moment of application. The adhesive foam on a fresh weight bonds tenaciously to a perfectly clean rim, but a microscopic film of brake dust, tire-mounting lubricant, or wax residue reduces the actual contact area by 60–80%. The result is a weight that looks attached but is held by friction alone. Within 200–500 km of driving, vibration and centrifugal force overcome the remaining bond, and the weight sheds somewhere on the highway.
Why Winter Is the Worst Season for Wheel Weight Failure
Cold temperatures cut adhesive tack by roughly 50% per 10 °C drop below 20 °C. A weight that holds firmly at 25 °C struggles to grip at 5 °C, and many winter balancing bays run at 10–15 °C without active heating. Combined with the higher road-salt contamination typical of winter wheels, this is why shops across cold regions report 3–5× more “weights falling off” complaints from December through February than in summer.
From Balancer to Parking Lot — A Short Failure Timeline
The most common adhesive failure timeline runs in three phases. First, the weight holds briefly after leaving the balancer because residual static and surface tension keep it in place. Second, the first hard bump or cornering load breaks the weak bond, and the weight lifts at one edge. Third, highway speed (80–120 km/h) generates enough aerodynamic force to throw it clear. In most cases, the entire failure window is under 10 minutes of driving.
Surface Preparation for Adhesive Wheel Weights
Why Brake Cleaner Damages Alloy Wheel Finishes
Brake cleaner is the shop default for degreasing weight mounting locations, but on finished alloy wheels it does more harm than good. Standard brake cleaner contains acetone and toluene — solvents that soften clear coat and lacquered finishes within seconds. A single spray leaves a dull spot; repeated sprays etch the surface permanently. Worse, the solvent flashes off fast enough to leave a microscopic residue film that actively reduces adhesive bond strength. This is the most counter-intuitive adhesive wheel weights failure mode: the cleaner used to “help” the bond is the very thing killing it.
Wheel-Weight Surface Prep — What It Does
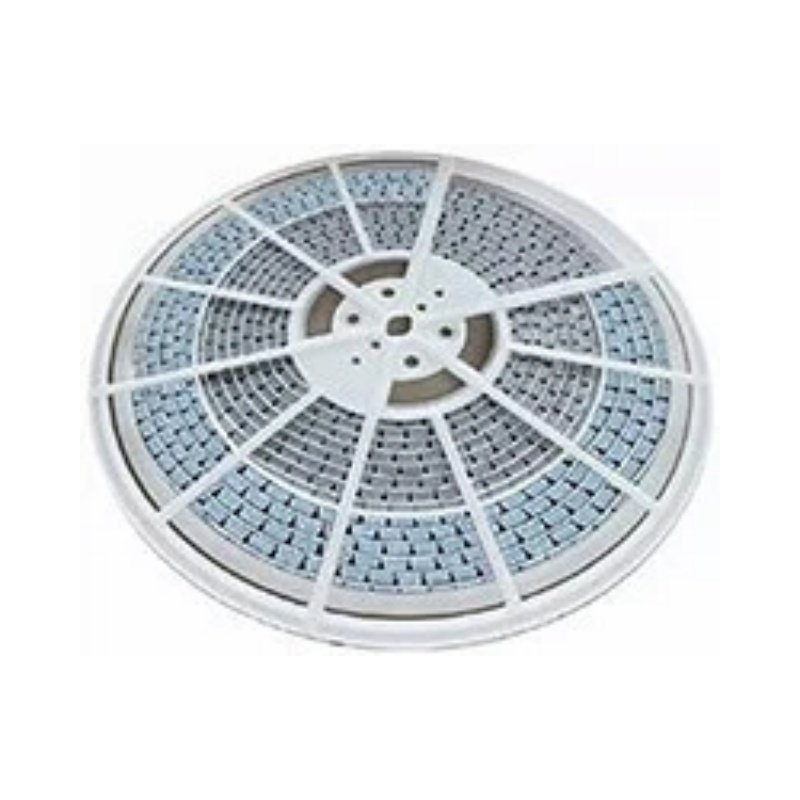
A dedicated wheel-weight surface prep was formulated specifically for finished rims. Unlike brake cleaner, it contains no solvents aggressive enough to attack clear coat. The kit ships with a soft scrub pad that micro-etches the finish without visible scratching — increasing actual contact area by an estimated 2–3× compared to a wipe-only prep. A 12 oz bottle retails around $12 and treats roughly 200–400 wheels depending on contamination level. For wholesale procurement, wheel weights and compatible surface-prep supplies are available from Fortune autoparts under a single shipment and custom-branded packaging for distributors and tire chains.
Rim Preparation Procedure
Spray the surface prep onto the marked application area, then scrub in straight lines with the supplied pad for 5–10 seconds. Wipe dry with a lint-free cloth, then wait 30–60 seconds for any remaining solvent to flash off. The rim should feel “squeaky clean” when lightly touched with a clean glove — a quick tactile check that confirms no residue film remains. Work in a ventilated area; the fumes are milder than brake cleaner but still require airflow.
Heat Activation for Adhesive Wheel Weights

The Physics Behind Heat-Activated Adhesives
The foam adhesive on a fresh weight is a pressure-sensitive acrylic. At room temperature it behaves like a soft solid, conforming to surface texture only under sustained pressure. Heat changes this: at roughly 60–80 °C, the adhesive enters a viscoelastic state where it flows into microscopic surface peaks and valleys. As it cools, it locks those peaks into the cured adhesive — creating a mechanical bond on top of the chemical one. Industry testing shows heated weights achieve 2–4× the pull strength of unheated controls.
Heat Gun vs Lighter — Which Works Better
A cordless heat gun (12 V, sold for $12–$20 at retail) is the professional choice — most reach 200–400 °C at the nozzle, far above what is needed. A standard butane lighter tops out around 800–900 °C at the flame tip, but the heat delivered to the adhesive from a 5–8 cm distance is roughly equivalent to a heat gun at low setting. The trade-off is control: a lighter concentrates heat in a 1 cm² area, while a heat gun spreads heat over a 3–5 cm² area. Both work; the lighter is more likely to overheat one corner of the weight if held too close.
Heating Procedure — Bubble and Texture Cues
Hold the heat source 5–10 cm from the weight and sweep slowly across the adhesive face for 8–15 seconds. Two cues indicate the adhesive has reached activation temperature: the foam surface develops a subtle bubble or “orange-peel” texture, and the color shifts from matte to slightly glossy. Stop heating at that stage — additional heat does not improve bond strength and can degrade the foam backing.
Adhesive Wheel Weights — The Complete Fix Step by Step
Cleaning and Drying the Rim
Begin at the marked location with the surface prep and the supplied scrub pad. Five seconds of straight-line scrubbing is enough to lift contamination without abrading the finish. Wipe dry, then wait 60 seconds. If the rim still feels slick when touched with a clean nitrile glove, repeat the scrub — slick = residue.
Applying the Weight and Activating the Bond
Peel the backing without touching the adhesive face (skin oils reduce tack by up to 30%). Align the weight over the mark, press flat for 3 seconds, then apply heat for 10 seconds using the bubble-texture cue above. Press firmly again for 5–10 seconds while the adhesive is still warm — this drives the softened foam into the micro-etch left by the scrub pad. Confirm the tire valve area is clear of weights before the recheck — the last 15–30 cm of rim closest to the valve should remain clear to avoid interfering with tire mounting and inflation cycles.
Pressing, Cooling, and Verifying
Let the weight cool for 30–60 seconds without disturbing it. A proper bond will resist a firm pull with a fingernail or plastic pick — the weight should not lift at the corner. Re-mount the wheel on the balancer, run a recheck spin, and confirm a zero-zero output on both inside and outside positions.
FAQ
Why Do My Sticky Weights Keep Falling Off?
The four most common causes are: insufficient surface prep (no scrub or wrong cleaner), cold-shop installation below 15 °C, no heat activation, and contamination from tire-mounting lubricant that migrated to the rim face. Address all four and adhesive wheel weights failure rates drop below 0.5%.
Is It Safe to Heat Wheel Weights With a Lighter?
Yes — a lighter held 5–8 cm away delivers a safe activation temperature in 10–15 seconds. Keep the flame moving to avoid overheating one corner. The adhesive foam reaches 80 °C at most, well below the ignition point of any tire or wheel component.
Can Adhesive Wheel Weights Be Reused After Falling Off?
No. The foam adhesive deforms permanently on first removal and cannot re-bond to specification. Always use a new segment from the same weight-size series. Bulk adhesive wheel weights from Fortune autoparts ship in 1/4 oz (7 g), 1/2 oz (14 g), 3/4 oz (21 g), and 1 oz (28 g) segments, plus fractional combinations for fine-tuning.