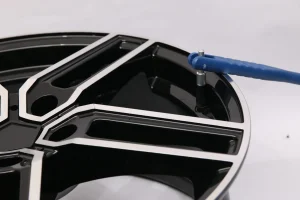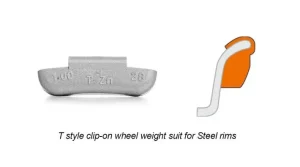
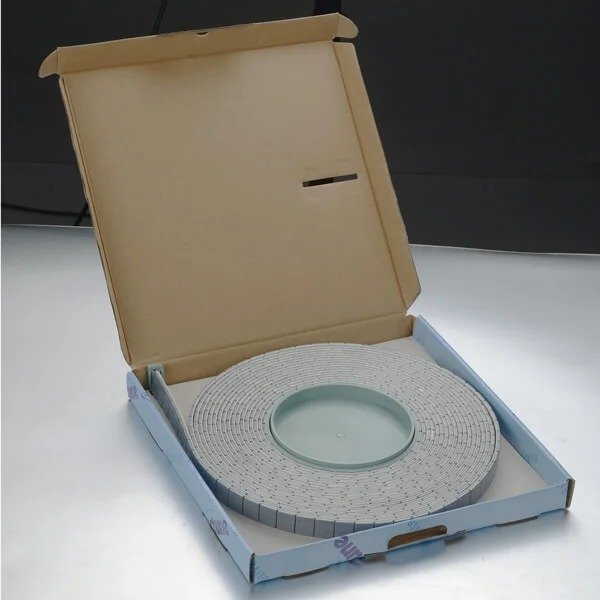
An aluminum wheel comes off the balancer showing half an ounce out on both sides — but the inner lip needs a clip-on and the outer face wants a adhesive wheel weights. This dual-weight scenario is one of the most common calls in any tire shop, and it is where adhesive wheel weights either earn their keep or end up falling off two weeks later. This guide covers the full installation procedure for adhesive wheel weights — surface prep, the spin-and-mark step, and the diagnostic checks that separate a wheel that stays balanced from one that comes back.
What Are Adhesive Wheel Weights and When to Use Them
How adhesive wheel weights attach to the wheel
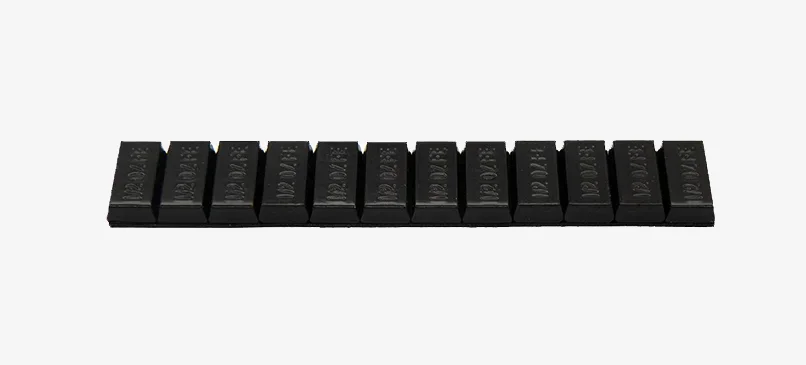
Adhesive wheel weights are zinc or steel segments backed with high-tack foam tape. They press onto the flat outer face of the rim, where the pressure-sensitive adhesive grips immediately and cures to full strength over 24–48 hours. No mechanical clip is involved, which is why adhesive wheel weights are the only safe fit for finished alloy surfaces.
When shops choose adhesive over clip-on
Adhesive wheel weights are the default on coated, painted, or polished alloy rims where any clip-on contact would mark the finish. They are also standard on reverse-mount and low-profile wheels where the rim flange geometry does not accept a clip. For shops running wholesale adhesive wheel weight stock alongside clip-on, Fortune autoparts supplies both types under a single shipment with custom-branded packaging.
Common sizes and tools required
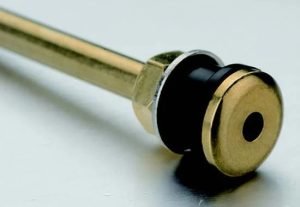
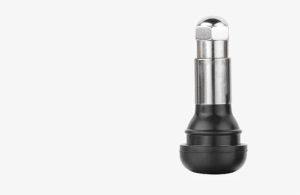
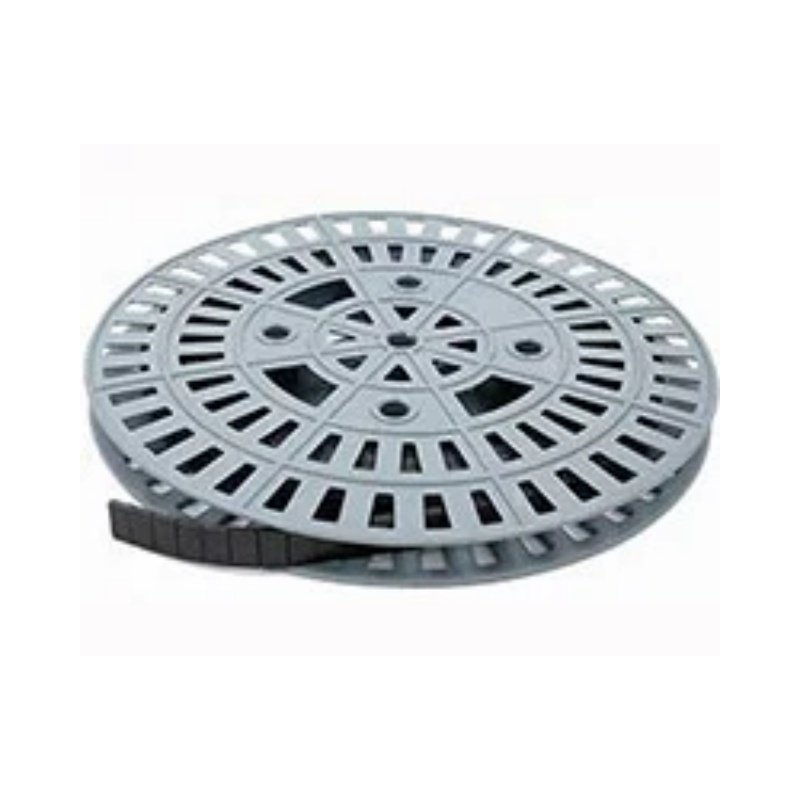
Adhesive wheel weights ship in standard 1/4 oz (7 g), 1/2 oz (14 g), 3/4 oz (21 g), and 1 oz (28 g) segments, plus fractional combinations for fine adjustments. Required tools: brake cleaner, lint-free wipe, optional fine-grit scratch pad, and a pencil or piece of tape for marking the position. Before installing weights, inspect the tire valves for cracks or leaks — a failing valve can cause vibration that mimics an imbalance.
Preparing for Adhesive Wheel Weight Installation
Selecting the aluminum position mode on the balancer
Most computer balancers offer five or more position modes — clip-on inside, clip-on outside, adhesive inside, adhesive outside, and aluminum (both). Press the mode button until the two indicators for your target positions light up. In the example wheel, the operator selected the aluminum mode to handle both an inside clip-on and an outside adhesive application in a single spin.
Cleaning the rim surface with brake cleaner
Surface contamination is the number one cause of adhesive wheel weight failure. Brake cleaner is the shop standard — it cuts oil, dissolves brake dust, and evaporates in seconds without leaving a residue film. Spray the application area, wipe with a lint-free cloth, and allow 30–60 seconds for full evaporation. On glossy finishes, follow up with a fine-grit scratch pad — the micro-abrasions increase the surface area and roughly double the bond strength of the adhesive.
Adhesive Wheel Weights — Installation Step by Step
Step 1: Spin the wheel and mark the imbalance position
Lower the hood and start the spin. The balancer measures imbalance in 6–10 seconds and outputs the weight size and position. In the example wheel, both sides required a half-ounce weight. Slowly rotate the wheel by hand until the adhesive-weight indicator light is at the 12 o’clock position. Mark the spot with a pencil or a small piece of tape.
Step 2: Move to a ventilated area and clean the rim
Adhesive weight installation generates fumes from the brake cleaner — never apply weights on the balancer. Move the wheel to a ventilated workbench, then spray and wipe the marked area. The surface must be dry to the touch before applying the weight. Any moisture film reduces bond strength by 50% or more.
Step 3: Apply the adhesive weight at the mark
Peel the backing film without touching the adhesive surface — skin oils reduce tack. Align the weight over the mark, then press it onto the rim flat. In our example, a single half-ounce adhesive wheel weight was used. Had the imbalance called for 3/4 oz, two segments (1/2 + 1/4) would be installed side by side.
Step 4: Press firmly and remount for recheck
Apply firm hand pressure across the full width of the weight for 5–10 seconds. This activates the pressure-sensitive glue and seats the weight flat against the rim. Re-seat the wheel on the balancer spindle, tighten the cone nut, and run a recheck spin. For wheels using lug bolts instead of studs, ensure they are torqued to spec.
Step 5: Confirm a zero-zero reading
The display should now read 0.0 oz inside and 0.0 oz outside. Anything above 0.05 oz means a measurement input error on the first spin, a wheel not fully seated, or a position mark that drifted. Do not return the wheel to the vehicle until both sides read zero.
Troubleshooting Adhesive Wheel Weights
Why adhesive weights lift or peel off
Three causes account for most adhesive weight failures: surface contamination (oil, brake dust, or tire-mounting lubricant), insufficient pressure during application, or rim temperatures above 35 °C that soften the adhesive. A weight that lifts at the edge will typically fly off within 200–500 km.
How to remove old adhesive weights
Heat the weight for 30 seconds with a heat gun set to roughly 80 °C — the glue softens and the weight peels off cleanly. Any residual adhesive comes off with a second pass of brake cleaner and a scratch pad. Avoid metal scrapers on alloy rims; they leave visible scratches.
FAQ
How long do adhesive wheel weights last?
Properly applied adhesive wheel weights last the life of the tire balance — typically 2–5 years before rebalancing is needed. Bond strength actually increases over the first 24–48 hours as the adhesive fully cures.
Can adhesive wheel weights be reused after removal?
No. The foam adhesive deforms on removal and will not re-grip. Always use a fresh segment if a position needs adjustment.
Are adhesive wheel weights safe for high-speed driving?
Yes — once cured, properly applied adhesive wheel weights handle sustained speeds well above 200 km/h and through aggressive cornering. The failure rate at speed is statistically zero on wheels that pass the zero-zero recheck.