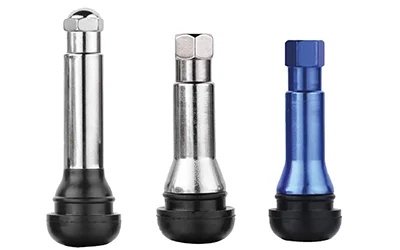
The pump head clicks onto the tyre valve, you give it three squeezes, and the gauge needle does not move.The tire is not flat — it pumped up fine last week — but today air simply refuses to go in. This is the textbook symptom of a blocked tubeless tire valve, and it almost always traces to one of two places: a clogged valve core or a valve stem packed with dried latex sealant. The good news is that no specialty tools are needed, only items most riders already own. This guide walks through the diagnostic step that most DIY guides skip, the 5-step unblock procedure, and the two prevention tricks that cut future blockages by 70–80%.
Why Tubeless Tire Valves Get Blocked
The Two Failure Points — Valve Core vs Valve Stem
A tubeless tire valve has two independently serviceable sections. The valve core is the small spring-loaded cartridge inside the stem that opens and closes when the pump head is attached. It contains a rubber seal and a tiny internal passage less than 2 mm wide. The valve stem is the hollow outer tube that runs from the rim hole up to the core. Both are exposed to liquid latex sealant sloshing inside the tire, and both can clog — but the fix is different for each. Treating the wrong section wastes 10–15 minutes of disassembly, which is why Step 2 below matters.
How Dried Latex Sealant Clogs Tubeless Tire Valves
Most tubeless sealants are water-based latex with ammonia or similar additives to keep the latex liquid. Once the tire sits stationary for 2–4 weeks — especially in cold garages or low humidity — the water evaporates, the ammonia outgases, and the latex coagulates inside any narrow passage. A tubeless tire valve stem and core combined have less than 30 mm² of internal cross-section, so even a thin film of dried latex is enough to block airflow. The blockage forms faster in cold weather (latex dries at lower humidity) and in tires that have not been topped up recently (no airflow = no sealant disturbance).
The Hidden Cost of a Slow Tubeless Tire Valve Blockage
A slow blockage rarely shows up as a flat tire — it shows up as a TPMS warning light, an unexplained pressure loss of 2–4 psi per week, or a pump head that takes10–15 strokes to register. Riders often blame the tire or the sealant, when the real culprit is a valve that is restricting airflow on the way in. Left untreated, the dried latex accumulates further until the valve seals shut entirely, and a roadside ride ends with a $60–$80 service call.
How to Unblock a Tire Valve — Tools and Steps
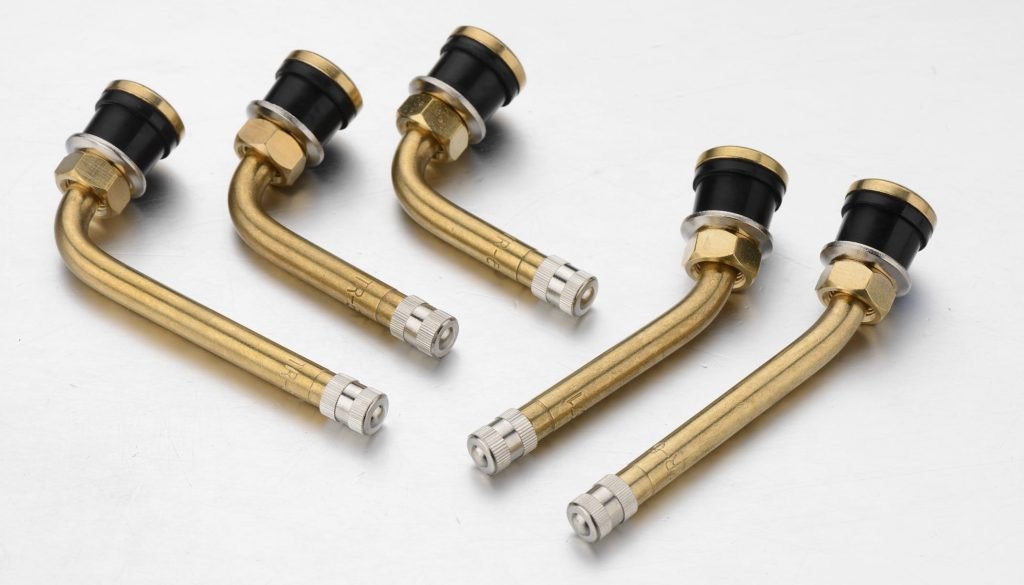
Tools You’ll Need
Five items cover every step. Long-nose pliers for pulling the valve core out of the stem. Standard pliers for holding the valve core body when removing the small lock nut. Blunt objects — a set of small hex keys, an old section of brake or gear cable, or a worn spoke — for clearing the valve stem. Oil-based chain lubricant (the kind sold for bicycle or motorcycle chains) for one drop inside the reassembled core. A dedicated valve core removal tool is optional but recommended; it makes Step 1 a 5-second job rather than a fiddly 30-second one. None of these tools is specialized — every one is in a typical home workshop.
Step 1 — Deflate and Remove the Tire Valve Core
Unscrew and remove the valve cap. Press the tip of a long-nose pliers (or a valve core tool) into the slot at the top of the valve core, then turn counter-clockwise until the core backs out 2–3 turns. Air hisses out as the core unseats. Once the tire is fully deflated, unscrew the core the rest of the way and set it aside in a clean cup. A deflated tire is also easier to break from the rim if Step 4 below requires accessing the valve from inside the wheel.
Step 2 — Re-Inflate to Diagnose Core vs Stem
With the core removed, attach the pump head and try to inflate the tire normally. If the tire pumps up as expected and the gauge needle climbs, the core was the problem — the valve stem is clear. If you cannot get airflow into the tire even with full pump strokes, the valve stem is the blockage point. This 30-second diagnostic saves the disassembly of every other component on the bike when the actual fault is a $0.30 core replacement.
Step 3 — Clear the Tire Valve Stem with a Blunt Tool
For a stem blockage, take a blunt object slightly smaller than the stem bore — a 2 mm hex key is ideal, an old section of brake cable also works — and insert it from the outside of the rim. Push the dried sealant plug back toward the inside of the tire. The dried latex typically breaks up and falls back into the tire cavity, where it re-dissolves in the liquid sealant. Avoid any sharp or pointed tool: a screwdriver, awl, or paperclip can puncture the inner rim tape or the tire casing, turning a 5-minute job into a tire replacement.
Step 4 — Clean or Replace the Tire Valve Core
For a core blockage, the simplest fix is replacement. Bags of 10–50 cores are sold for $8–$15 at any cycling or auto-parts retailer — well under $0.30 per core. If the core is rare or expensive (e.g., a TPMS-equipped core), cleaning is possible: hold the core body with one set of pliers, undo the small lock nut on the end with a second set, and pick out the dried latex with a thin pick. Avoid damaging the small rubber seal at the open end — that seal is what holds pressure when the pump is disconnected.
Step 5 — Reassemble and Re-Inflate
Reinsert the cleaned core (or the new one) into the valve stem, then tighten the lock nut hand-tight only — no pliers. The hand-tight rule is critical: over-tightening with pliers makes roadside removal nearly impossible, and roadside tire repairs are common enough that this matters. Place a single drop of oil-based chain lube into the core before final assembly, then screw the core back into the stem. Re-inflate the tire to the recommended pressure, replace the cap, and check for leaks at the rim with soapy water. A clean install holds steady for the next 4–6 weeks.
Two Tricks to Prevent Future Tire Valve Blockage
Trick 1 — Oil-Based Chain Lube Inside the Core
A single drop of oil-based chain lubricant inside the reassembled core keeps the rubber seal and the internal spring surfaces coated in a thin non-latex film. Latex sealant beads off oil rather than adhering to it, so the dried-plug failure mode is suppressed at its root. For tire valves used in dusty or high-mileage service, this trick extends the unblock interval from 3–6 months to 12–18 months. Use only oil-based lube — water-based lubes mix with the sealant and make the problem worse.
Trick 2 — Keep the Tire Valve at 5 or 7 O’Clock
When checking or topping up pressure, rotate the wheel so the valve sits at the 5 o’clock or 7 o’clock position rather than at the bottom (6 o’clock). At the bottom, when the pump head is removed and a small burst of air escapes, that burst draws sealant up from the bottom of the tire and into the valve — exactly the way a blocked valve is born. At 5 or 7, the same airflow pattern pushes sealant back into the tire rather than up the valve. This is the single most overlooked trick in tubeless maintenance.
FAQ
How Often Do Tubeless Tire Valves Get Blocked?
In typical use, expect a blockage every 3–6 months on a tire without prevention. With the two tricks above (oil lube + 5/7 o’clock position), the interval extends to 12–18 months. Cold-climate or long-storage tires can block faster — check valves monthly if the bike is in an unheated garage through winter.
Can I Replace a Tubeless Tire Valve Instead of Cleaning It?
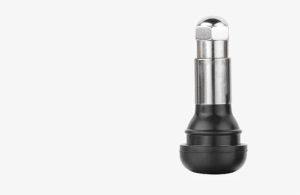
Yes, and it is often the better choice. A replacement tire valve costs $1–$3 for a rubber Presta-type stem, $5–$10 for an aluminum or brass tubeless-ready valve with a removable core, and 15–30 minutes of work to swap out the old valve through the rim hole. For riders who keep bikes for 3+ years, a full valve replacement every 2–3 years is cheaper than repeated cleanings.
Are Tubeless Tire Valves Different from Standard Tire Valves?
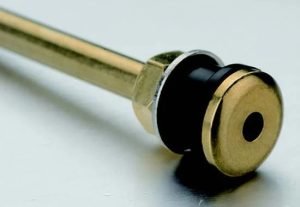
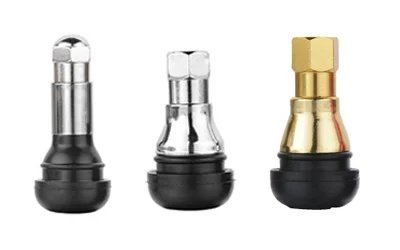
Yes — three differences matter. First, tubeless-ready valves have a rubber grommet at the rim seat that air-seals against the rim hole, where standard tube-type valves do not. Second, the stem bore is slightly wider (typically 2.5–3.0 mm vs. 2.0 mm on a tube-type Presta) to allow higher airflow during inflation. Third, the removable core design is standard on tubeless-ready valves and optional on tube-type valves. For shop-floor inventory, Fortune autoparts stocks both tubeless-ready and standard rubber tire valves, plus metal tire valves for high-pressure and motorcycle applications, under a single shipment and custom-branded packaging for distributors.