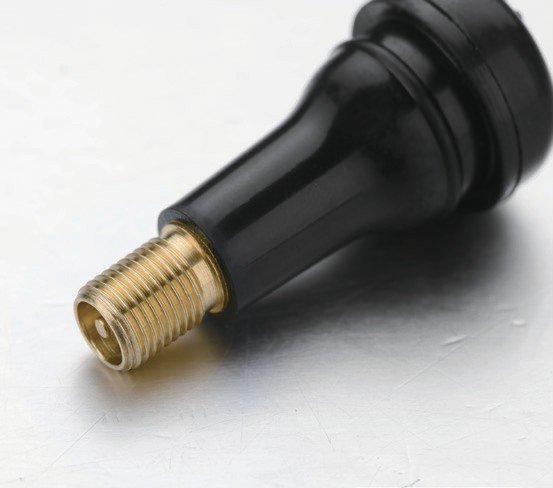
A slow leak at the valve stem is one of those problems most drivers ignore until the TPMS warning light shows up on the dash. The fix is not what most people expect: on a TPMS-equipped wheel, replacing the tire valve means unbolting a security screw, pulling out the old rubber stem, lubricating, and re-seating a new one. This guide covers the full replacement in six steps, plus the three errors that turn a30-minute swap into a weekend job.
Why TPMS-Equipped Tire Valves Leak and Need Replacement
The Three Failure Modes of TPMS Tire Valves
Three failure modes account for nearly all TPMS tire valve service calls. First, rubber aging — EPDM rubber stems typically last 5–7 years before micro-cracks appear at the rim seat, where exposure to heat, ozone, and brake dust degrades the compound. Second, TPMS sensor shifting — when the sensor body works loose inside the stem, the rubber grommet that seals it loses compression, and slow leaks develop around the sensor body. Third, corrosion at the rim hole — moisture and road salt migrate into the rim valve hole and corrode the metal seating surface, breaking the air seal even with a new valve. Each of these requires valve replacement, not repair.
A 3–4 Week Follow-Up — What a Good Tire Valve Install Looks Like
The benchmark for a successful tire valve replacement is what happens after the wheel goes back on the vehicle. A proper install holds pressure for 4–6 weeks without top-up air, with no TPMS light, no soap-bubble leakage at the rim, and no audible hiss. One common DIY approach — deflate, swap, inflate, done — passes the day-of test but fails the four-week check when the new valve was pulled in dry. Lubrication is what separates a one-month fix from a permanent one.
When to Replace vs. Repair a Tire Valve
Repair is justified in only two narrow cases: a loose valve core (hand-tighten or replace the core for $1–$2) or a clogged cap seal (replace the cap). For everything else — cracked rubber, leaking grommet, corroded seat, stripped security screw, or damaged TPMS sensor mount — full tire valve replacement is the only durable fix. The labor cost is roughly the same either way, and a partial repair on a 6-year-old stem is almost always followed by another leak within 3–6 months.
Tools and Preparation for Tire Valve Replacement
The One Tool Most DIYers Don’t Have — TPMS Security Bit
TPMS sensor bodies are held to the valve stem by a small Torx-style security screw — not a Phillips and not a standard hex. The kit that fits is a 1/4″ drive T10 or T15 security Torx bit (sometimes labeled “TPMS bit” or “valve stem bit”), sold as a set of 5–7 bits for $8–$15 at any auto-parts retailer. Skipping the bit and forcing a regular screwdriver is the single fastest way to strip the screw head — at which point the only option is drilling the screw out, and the original valve is no longer reusable.
Valve Core Tool, Vice Grips, and Lube
Three more tools round out the kit. A valve core removal tool ($2–$5) unscrews the existing valve core to deflate the tire without removing it from the rim. A pair of vice grips is used to clamp the old valve stem from outside the rim and pull it through — needle-nose pliers work for partial pulls but rarely deliver enough force. For the lube, the two practical options are dish soap + water (the field-expedient choice, mixed roughly 1:4 soap to water in a small cup) or silicone tire-mounting lubricant (the shop-grade choice, $5–$10 per tube). Both work; soap-and-water is free and available in every garage.
Tire Valve Replacement — Step by Step
Step 1 — Deflate the Tire With a Valve Core Tool
Unscrew the valve cap, insert the valve core tool into the stem, and turn counter-clockwise until the core backs out 2–3 turns. Air hisses out — let the tire deflate fully, then remove the tool and the core. Set the core aside in a clean cup; it will be reinstalled after the new valve is in place. A fully deflated tire is much easier to break from the rim than one with even 2 psi remaining.
Step 2 — Remove the Tire From the Rim
Break the tire bead away from the rim using a tire lever or a bead-breaking tool. For a single tire, this is the longest step — expect 5–15 minutes of lever work the first time. Mark the valve position on the tire sidewall with a chalk mark before breaking the bead; this lets you rotate the wheel so the valve stem sits at the top of the rim hole for easier access in Step 4. Once the upper bead is off the rim, peel the tire back enough to expose the valve stem from the inside.
Step 3 — Unscrew the Old TPMS Sensor With the Security Bit
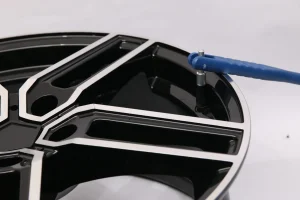
From the outside of the rim, identify the security screw at the base of the TPMS sensor body. Fit the T10 or T15 security Torx bit into a1/4″ drive ratchet and back the screw out — usually 4–6 turns. Set the screw and the TPMS sensor body aside as a matched set; if the sensor is still good, it can transfer to the new valve. If the screw head strips, stop immediately and source a Torx-out extraction bit before proceeding — a stripped head will not back out with any further force.
Step 4 — Pull Out the Old Tire Valve
From the outside of the rim, clamp the base of the old valve stem (not the sensor) with vice grips. Pull straight outward in line with the valve axis — not at an angle. The rubber stem slides through the rim hole with firm, steady force: 5–10 seconds of pulling is typical. If the stem does not move, the rim hole may be corroded — work the stem side-to-side gently with the vice grips to break the corrosion seal before pulling again.
Step 5 — Lubricate and Install the New TPMS Tire Valve
Dip the new valve stem into the soap-and-water mix (or apply silicone lubricant) so the entire rubber surface that will pass through the rim hole is wet. Insert the stem from the outside of the rim, then reach inside and pull it through until the rubber flange sits flush against the inside of the rim hole. Dry lube is the #1 cause of torn new stems — the rubber grabs the rim edge and tears before it seats flush. With proper lube, the stem slides through in under 5 seconds.
Step 6 — Reinstall the Tire and Inflate
Refit the TPMS sensor body to the new valve stem, secure with the security screw, and reinstall the tire bead onto the rim. Inflate to the vehicle’s door-plate pressure (commonly 32–35 psi for passenger cars). Spray the rim valve area with soapy water and watch for bubbles — any bubble stream indicates a leak at the new stem, and the install must be redone. A clean install produces no bubbles and holds pressure through the next day’s cold soak.
Common Mistakes When Replacing TPMS Tire Valves
Forgetting the Lubricant and Tearing the New Valve Stem
A new EPDM valve stem has roughly 30% elongation at break. Without lube, the friction between the rubber and the rim edge exceeds that limit within the first 3–5 cm of pull-through — and the stem tears. Once torn, the valve is scrap. A 30-second dip in soap-and-water eliminates this failure mode entirely.
Using the Wrong Bit and Stripping the Security Screw
A standard Phillips or flat-head driver does not fit the TPMS security screw, but it does deform the screw head under force. Once the head is rounded, no Torx driver will grip — and the only option is drilling. The correct bit costs $1.50–$3 as a single purchase or comes in any security-bit set.
Skipping the Soap-and-Water Leak Test
Inflation pressure alone does not confirm a good seal — a slow leak at the rim seat may not show as a pressure drop for several hours. The 30-second soapy-water test at the valve location is the only reliable leak confirmation available without a pressure-decay tester.
FAQ
How Long Should a TPMS-Equipped Tire Valve Last?
A properly installed EPDM TPMS tire valve lasts 5–7 years under normal climate conditions and 3–5 years in regions with heavy road salt or extreme UV. The TPMS sensor body itself runs on a sealed lithium battery rated for 7–10 years; once the battery dies, the valve-and-sensor assembly is replaced as a unit.
Can I Replace Just the TPMS Sensor and Reuse the Old Tire Valve?
Yes, when the rubber stem is intact and the sensor has failed. Most aftermarket TPMS sensors are sold as sensor-and-stem assemblies, but transfer is straightforward: unscrew the old sensor from the old stem, screw the new sensor onto the existing stem using the same security screw, then reinstall. If the stem is over 5 years old, replace the entire assembly instead.
Is a Rubber Tire Valve Better Than a Metal One?
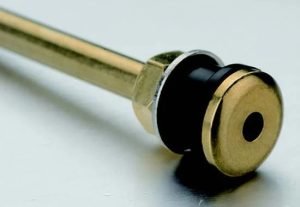
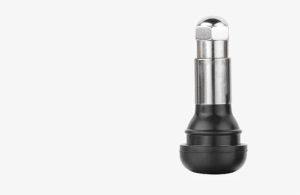
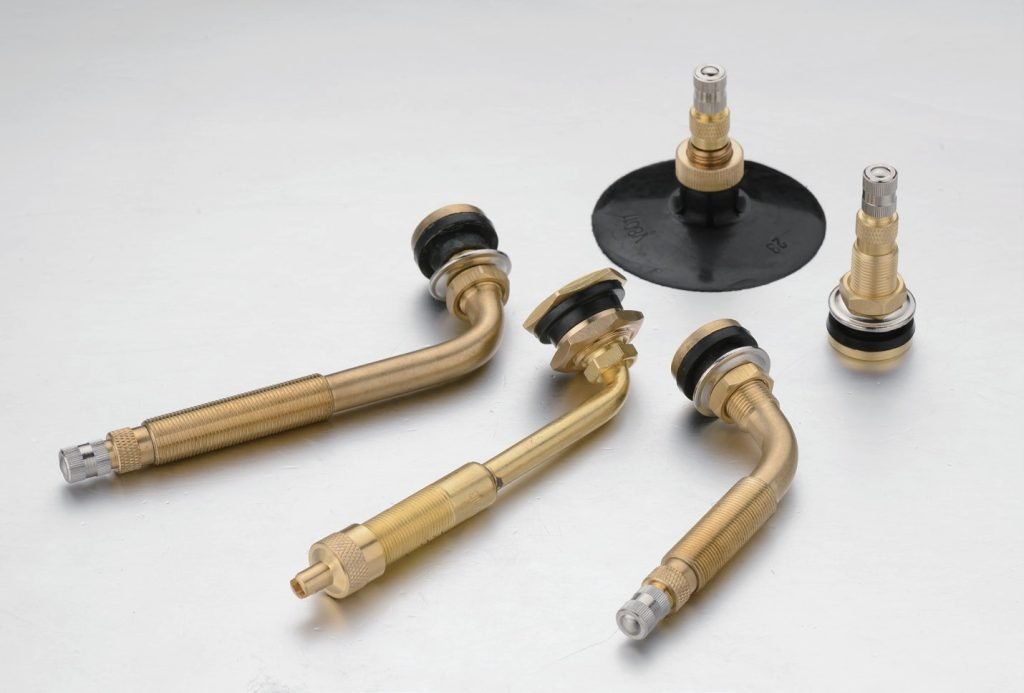
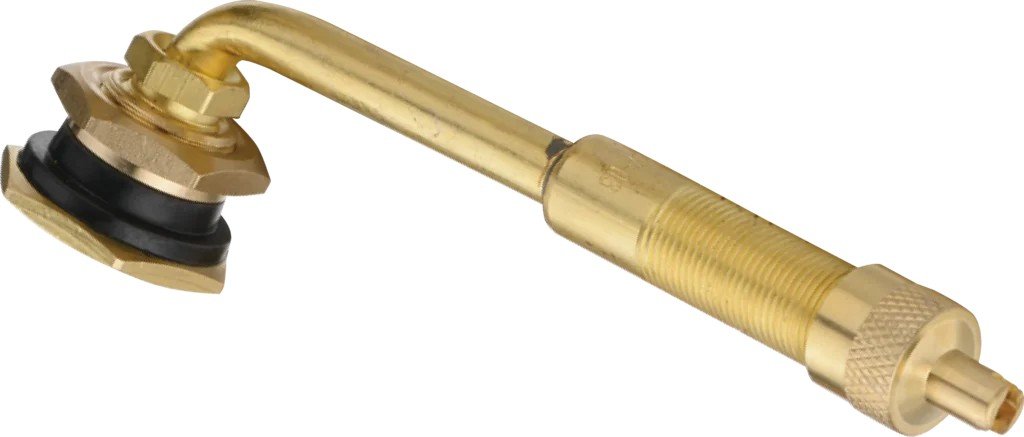
For most passenger and light-truck applications, rubber snap-in tire valves are the standard — flexible, inexpensive ($2–$5 retail), and easy to replace. Metal tire valves — typically brass or aluminum — are specified for high-speed, high-pressure, and motorcycle applications where rubber fatigue is a concern. Fortune autoparts supplies both rubber and metal TPMS-compatible tire valve lines for distributors serving mixed-vehicle fleets.