A technician pulls a wheel off a balancer, watches the indicator lights blink off-center, and reaches for clip-on wheel weights. It is one of the most familiar routines in any tire shop, yet a wrong measurement or a misread indicator sends the wheel back out the door still vibrating at highway speed. This guide walks through the standard procedure for balancing a wheel and tire assembly using clip-on wheel weights, the three measurements that drive accuracy, and the diagnostic details that separate a properly balanced wheel from one that is about to come back.
What Are Clip-On Wheel Weights and Why Use Them
How clip-on wheel weights attach to the wheel
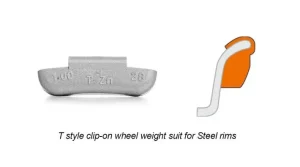
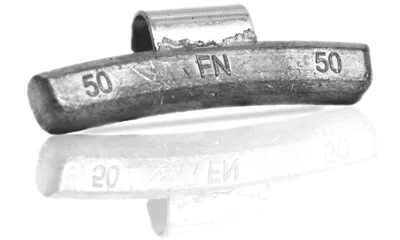
Clip-on wheel weights are stamped metal segments with a spring-steel retention clip. A small weight hammer taps the clip onto the rim flange, where it grips by tension. No adhesive is involved, and the weight can be repositioned or removed with the same tool.
When shops prefer clip-on over adhesive
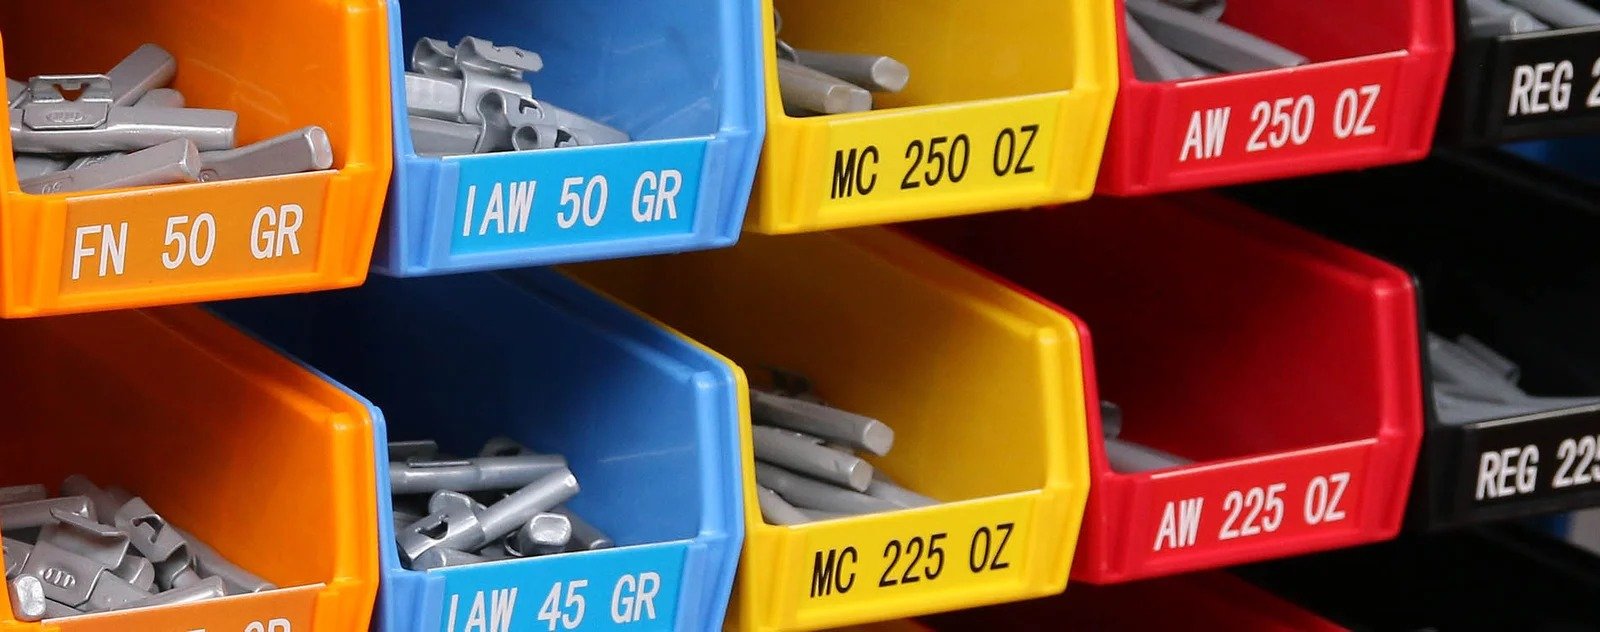
Clip-on wheel weights are the default for steel rims and most aftermarket alloy wheels. They survive higher temperatures, hold position through curb strikes, and rarely fall off in service. For shops sourcing wholesale clip-on wheel weights, Fortune autoparts ships standard zinc and coated-steel options in 1/4 oz increments under custom-branded packaging.
Tools and Setup for Wheel Balancing
Wheel balancer requirements
A digital wheel balancer is required. Entry-level units display imbalance in ounces or grams; mid-range units add LED position arrows. The balancer must be calibrated with a test weight before each shift — otherwise every reading drifts by 2–3%.
Required accessories for clip-on installation
A weight hammer (or combination weight pliers), a valve core tool, a tire pressure gauge, and a calibrated distance gauge. Keep a small tray of common weights —1/4, 1/2, 3/4, 1.0, 1.25, 1.5, 2.0, 2.5 oz — within arm’s reach of the machine.
Wheel Balancing Step by Step with Clip-On Wheel Weights
Step 1: Mount the wheel on the balancer
Seat the wheel on the balancer spindle and tighten the cone nut. The wheel must sit flat against the spindle face; any gap throws off all three measurements.
Step 2: Input distance, diameter, and width
Three parameters drive every balance calculation. Any one wrong produces measurable imbalance at speed:
- Distance (D)— offset from the spindle face to the inner rim edge, measured with the balancer’s gauge. In our example:81 mm. A 5 mm error alone is enough to fail the recheck.
- Diameter (Dia)— read from the rim stamp or measured across the bead seat. In our example: 18 inches. Most passenger rims fall between 13 and 22 inches.
- Width (W)— inside-to-inside measurement of the rim flange, also on the rim stamp. In our example:7 inches, designated as “B” on the input panel. Wrong width shifts the dynamic balance calculation and produces persistent vibration even when static reads zero.
Step 3: Run the spin cycle
Lower the wheel hood and start the spin. The balancer measures static and dynamic imbalance in roughly 6–10 seconds and displays the result on the screen.
Step 4: Install the inside clip-on wheel weight
In this example, the balancer returned 1/4 oz on the inside. Rotate the wheel slowly by hand until the indicator lights align at the 12 o’clock position. Place the clip-on wheel weight on the inner flange at top dead center, then tap it firmly with the weight hammer until the clip seats flush.
Step 5: Install the outside clip-on wheel weight
The balancer then displayed 1.25 oz on the outside. Repeat the same 12 o’clock positioning on the outer flange and install the second weight. Always match the printed size marking on the weight to the balancer reading.
Step 6: Re-verify the balance reading
Run the spin cycle once more. The display should read 0.0 oz inside / 0.0 oz outside. Anything above 0.05 oz means a measurement input error, a loose wheel on the spindle, or a weight that has shifted. Do not return the wheel to the vehicle until both sides read zero.
Clip-On Wheel Weights vs Adhesive Wheel Weights
Retention and durability on the rim
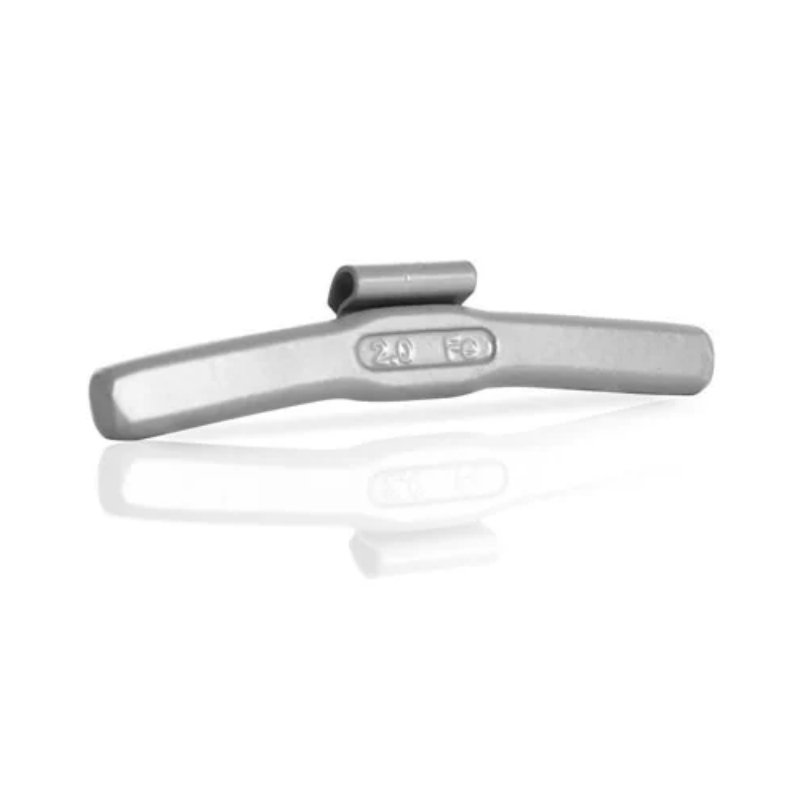
Clip-on wheel weights grip the rim by mechanical tension and stay put through potholes, curb strikes, and temperature swings. Adhesive wheel weights rely on foam-tape backing that softens above 60 °C and lifts off coated alloy surfaces.
Application scenarios for each type
| Scenario | Best Choice |
| Steel rims | Clip-on wheel weights |
| Coated or painted alloy rims | Adhesive wheel weights (no scratch risk) |
| Low-profile or reverse-mount alloy | Adhesive wheel weights |
| Heavy-duty / commercial use | Clip-on wheel weights |
| Seasonal high-temperature environments | Clip-on wheel weights |
Cost and inventory considerations
Clip-on wheel weights cost roughly the same per ounce but require a small investment in application tools. Adhesive weights add slightly to SKU count and require climate-controlled storage. For wholesale clip-on and adhesive wheel weight sourcing, Fortune autoparts supplies both types under a single shipment with custom-branded packaging options.
FAQ
Can clip-on wheel weights damage alloy wheels?
On standard alloy rims, no — the spring clip sits behind the rim flange and never contacts the visible face. On delicate coated or polished lips, use a plastic-tipped weight hammer or switch to adhesive wheel weights to avoid micro-marring.
What weight increments are most common?
Clip-on wheel weights are sold in 1/4 oz (7 g) increments in North America and 5 g increments in most other markets. Standard sizes cover 1/4 oz through 3.0 oz.
Where exactly should clip-on wheel weights sit on the rim?
Always on the bead seat drop area, just inside the rim flange where the spring clip can fully engage. Never on the visible outer lip — the clip will not seat and the weight will fly off at speed.
Can you reuse clip-on wheel weights after removal?
Yes, if the clip still has full tension and the weight has no deformation. Re-tap onto the rim to confirm grip before reusing. Most shops treat used weights as single-use for safety.