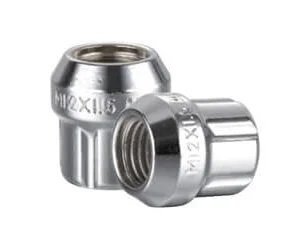
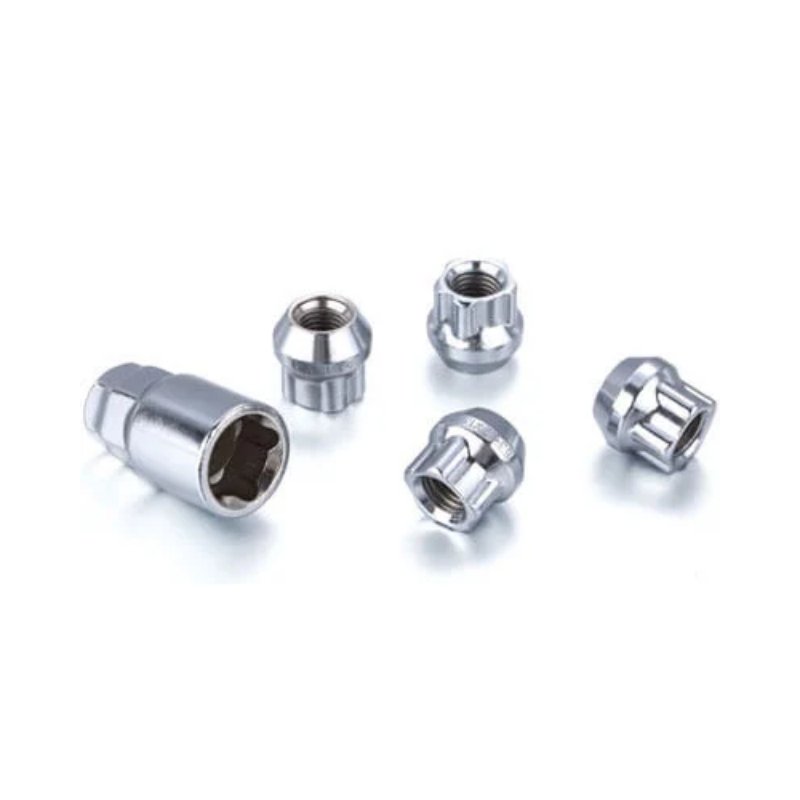
Acorn lug nuts that are not tightened to the correct torque can cause a wheel to come loose at highway speed — one of the most dangerous failures a driver can experience. Too loose, and the wheel works free over the first 100 km; too tight, and the studs stretch or snap under load. A calibrated torque wrench is the correct tool for the job, but it is not always available. This guide covers the breaker bar method, its limitations, and the step-by-step procedure for getting lug nut torque close enough to reach a service station safely.
When a Lug Nut Torque Wrench Isn’t Available
Real-World Situations Requiring an Alternative
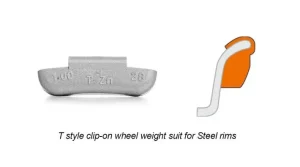
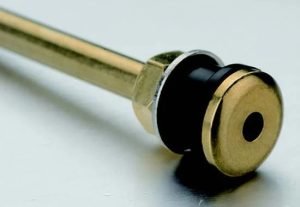
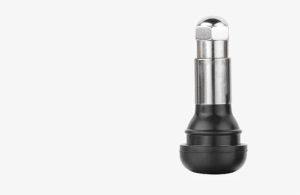
A torque wrench is not always within reach. You might be on the side of the road with a flat tire and only the factory tire iron in the trunk. Or you might be working on a friend’s car in a driveway with a basic socket set. In these situations, the factory lug wrench or a breaker bar is often the only tool available. The goal is not to achieve perfect torque — it is to get the lug nuts tight enough to drive safely to the nearest shop. The same caution applies to other wheel components: a mis-specified tire valve can leak slowly, and an incorrectly installed wheel weight can cause vibration.
The Risks of Guesswork
Guesswork is dangerous. Under-torque allows the wheel to shift, wearing the lug holes and loosening the studs. Over-torque stretches the studs and can cause them to snap under braking. The breaker bar method described here is an approximation, not a replacement for a calibrated wrench. It should only be used to get the vehicle to a safe location where proper torque can be applied.
The Breaker Bar Method for Lug Nut Torque
Torque = Force × Distance
Torque is a measure of rotational force. It is calculated as force multiplied by the distance from the pivot point. In the context of lug nuts, the pivot is the center of the wheel, and the distance is the length of the breaker bar. If you apply a known force at a known distance, you can estimate the torque being applied.
The 30 cm × 400 N = 120 N·m Formula
A common approximation uses a 30 cm (0.3 m) lever and a 400 N force. The math is simple: 0.3 m × 400 N = 120 N·m. This is close to the typical torque spec for many passenger cars (80–110 ft-lbs, or roughly 110–150 N·m). For lighter vehicles, a lower force or shorter distance may be appropriate. The key is to apply a consistent force at a measured distance.
Lug Nut Tightening — Step by Step
Step 1 — Measure and Mark 30 cm
Use a tape measure to mark a point 30 cm from the center of the socket on your breaker bar. This is your force application point. If you are using a standard lug wrench, the handle length may be shorter, so adjust the force accordingly.
Step 2 — Apply 400 N of Force at the Mark
Stand on the breaker bar at the 30 cm mark. Your body weight provides the force. If you weigh 80 kg, you can apply roughly half your weight by standing on one foot with the other on the ground. Or you can use a luggage scale to pull at the mark until it reads approximately 40 kg (which equals about 400 N). Apply the force smoothly, not in a sudden jerk.
Step 3 — Tighten in Star Pattern
Tighten the lug nuts in a star pattern (or cross pattern for 4-lug wheels). Apply the force to each nut in sequence. Do not tighten one nut fully before moving to the next. Two passes are recommended: first pass at roughly half the force, second pass at full force. This centers the wheel and distributes the clamp load evenly. If you are working with wheel weights at the same time, make sure they are installed after the wheel is properly torqued.
Limitations of the Lug Nut Breaker Bar Method
Force Estimation Error
Estimating 400 N of force by body weight is imprecise. Your actual force may be higher or lower depending on how you stand, the angle of the bar, and whether you use one foot or two. A 10% error in force translates to a 10% error in torque — enough to be unsafe if the spec is tight.
Friction and Thread Variability
Torque readings assume a specific friction coefficient between the threads and the lug seat. Dirt, rust, or oil changes that friction. A breaker bar cannot account for these variables. A torque wrench measures the actual torque applied, but even it can be fooled by friction. Clean, dry threads are essential for any torque method. This is also true for lug bolts, which are common on many European vehicles and require the same attention to thread condition.
Lug Nut Torque FAQ
Is the Lug Nut Breaker Bar Method Safe for Highway Driving?
No. It is only safe for driving to a nearby service station at moderate speed. Highway driving at sustained high speed requires properly torqued lug nuts. If you must drive on the highway, keep speed low and re-check the torque as soon as possible.
When Should I Use a Real Lug Nut Torque Wrench Instead?
Always, if one is available. A calibrated torque wrench is the only tool that applies a known, repeatable torque. Use it for every wheel installation, and re-torque after 50–100 km of driving.
What’s a Low-Cost Lug Nut Torque Wrench Alternative?
A beam-type torque wrench is the least expensive option. It uses a deflecting needle and a scale to show torque. Click-type wrenches are more common and easier to use. For occasional use, a beam-type wrench in the 1/2″ drive, 80–150 ft-lb range is a reliable low-cost choice.