
admin1
July 28, 2025
Tire Valve Core Replacement Tools You Need and How to Operate Them
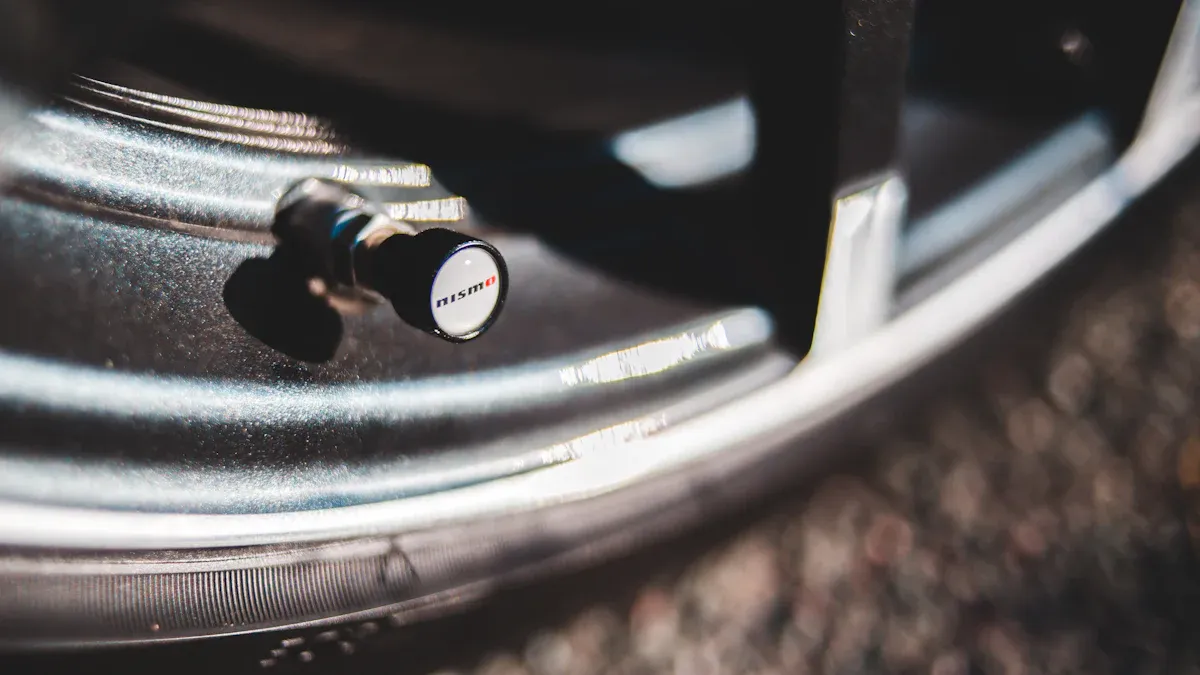
When you replace a tire valve core, you need the right tools for a smooth and safe job. Here are some of the most trusted options experts recommend:
| Tool Name | Key Features and Expert Notes | Purpose/Use Case |
|---|---|---|
| Dual End Red Handle Valve Core Tool (VH675) | Works well with both large and standard valve cores; efficient and easy to use | General valve core removal and installation |
| Hamaton TPMS Valve Core Tool (3-150) | Preset torque for precise TPMS valve core installation; important for accuracy | TPMS valve core maintenance and installation |
| Tru-Flate Tubeless Tire Valve Inserting Tool | Makes tubeless tire valve installation easier and more precise | Tubeless tire valve insertion |
You need a valve core tool for removing and installing the tire valve core. Always choose high-quality valve tools, like those from Fortune, to keep your tire and valve in top shape.
Tire Valve Core: What It Is and When to Replace
What Is a Tire Valve Core
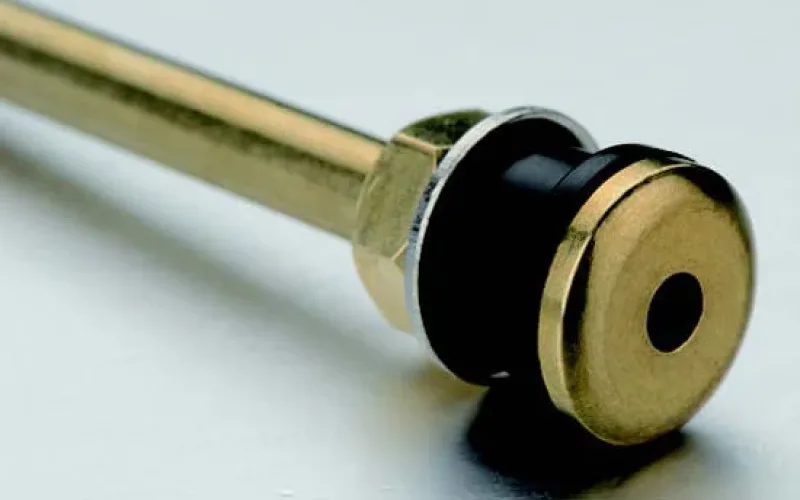
You find the tire valve core inside the schrader valve stem on your tire. This small, spring-loaded part controls the flow of air in and out of the tire. When you inflate your tire, the valve core lets air in. When you finish, it seals tightly to keep air from escaping. The valve core is essential for keeping your tire at the correct pressure. Proper tire pressure helps your car handle well, improves fuel efficiency, and makes your tires last longer.
The valve core is usually made from nickel-plated brass. This material resists high temperatures and corrosion, which is important for durability. The rubber parts around the schrader valve, such as grommets or o-rings, use special compounds like EPDM or Viton rubber. These materials protect the valve from damage caused by heat, cold, and chemicals. You also find a valve cap on the schrader valve. This cap adds another layer of protection, keeping dirt and moisture away from the tire valve core.
Tip: Always keep the valve cap on your schrader valve. It helps prevent leaks and keeps the valve core working well.
Signs You Need Valve Core Replacement
You should inspect the valve core if you notice your tire losing air more quickly than usual. Air leaks from the schrader valve stem often mean the valve core is damaged. You can check for leaks by putting a mix of water and dish soap on the uncapped schrader valve. If you see bubbles, the valve core may need replacement.
Common reasons for valve core failure include:
- High tire pressure, which can wear out the valve core faster.
- Cracks in the valve stem from heat, cold, or sun exposure.
- Missing or damaged valve caps, which let dirt and moisture enter the schrader valve.
- Corrosion from road salt or moisture.
- Frequent tire inflation, which wears out the valve core.
- Improper installation of the valve core, leading to poor sealing.
Experts recommend replacing the tire valve core whenever you get new tires. Rubber parts in the schrader valve can dry out and crack over time. Regular checks help you catch problems early and keep your tires safe.
Essential Tire Valve Core Removal Tool and Accessories

Tire Valve Core Removal Tool Types
You need the right valve core tool for a safe and easy removal process. Many types of tire valve core removal tools exist, each with its own function. Here is a table to help you compare the main types:
| Tool Type | Examples / Brands | Functions Covered |
|---|---|---|
| Core Removal Tools | Haltec Core Removal Tool, NAPA Valve Extracting Tool | Removing valve cores |
| Torque Tools | NAPA Valve Core Torq Tool, NAPA Tire Valve Core Torque Screw Drivers | Applying correct torque to valve cores |
| Screwdrivers | Airmax Valve Core Screwdriver, Automann Valve Core Tool | Removing/installing valve cores |
| Lock-On Core Tools | Haltec Lock On Core Remove Tool | Secure grip for core removal |
| Multi-Function (4-Way) Tools | Permatex Slime 4-Way Tire Valve Tool, Airmax 4-Way Tire Valve Tool, Haltec 4 Way Tool | Combine multiple functions: removal, installation, torque |
| Valve Stem Tools | Haltec Stem Installation Tool, Ultra Pro Valve Stem Tool | Valve stem installation and maintenance |
You can use a basic valve core tool for most schrader valve removal jobs. Multi-function tools help if you want to handle several tasks with one tool. Always choose a tool that fits your tire and valve type.
Replacement Tire Valve Cores
When you replace a tire valve core, you should know the material and design. Most valve cores use brass or nickel-plated metal. Brass is common but can corrode if used with aluminum schrader valve stems. Nickel-plated cores work better with aluminum stems and help prevent corrosion. Both types have a spring-loaded pin and a seal to stop air leaks. They can handle up to 300 psi. Dirt, sand, or moisture can damage the seal, so always use a metal valve cap with a rubber washer to protect the core.
Tip: Keep extra replacement valve cores in your repair kit. This helps you fix a leaking schrader valve quickly.
Tire Pressure Gauge and Air Compressor
After you finish the removal and installation, you need to check the tire pressure. An accurate tire pressure gauge lets you see if the new valve core seals the schrader valve well. Cheap or worn-out gauges can give false readings. Always use a trusted gauge to make sure your tire holds the right pressure. For re-inflating, a small home air compressor with a 3-gallon tank and at least 40 PSI works for most passenger tires. This pressure helps seat the bead on the rim and ensures the tire seals well. You do not need a high-flow compressor unless you work with large off-road tires.
Note: Accessories like Presta valve cores, air chucks, CO2 inflators, and thread seal tape can make the job easier and help you maintain your tire and valve.
Optional Tools for Easier Removal
When you want to make tire valve core removal easier and safer, you can use several optional tools. These tools help you work faster and protect both you and your tire components.
The main optional tool that can save you time is the valve core remover tool. This tool lets you remove the valve core quickly and with less effort. If you have it ready before you start, you can avoid delays and reduce the risk of a flat tire during the process. Many experts recommend this tool because it speeds up removal and replacement steps.
Some advanced valve core remover tools, like the Boxell 968RB-1, offer extra safety features. This tool uses high-strength plated steel, so it lasts a long time even in tough jobs like aircraft tire maintenance. It has a special exhaust port that directs escaping air away from you. This design keeps you safe from sudden bursts of air and flying debris. You do not have to worry about the valve core shooting out or causing injury.
Here are some features you should look for in optional tools for valve core removal:
- Multi-functional design: Handles more than one task, so you do not need many tools.
- Durable materials: High-quality steel or corrosion-resistant alloys last longer and do not break easily.
- Ergonomic handles: Give you a better grip and more control, which helps prevent slips and hand fatigue.
- Precision fit: Matches standard valve stems, so you do not damage the valve core or stem during removal or installation.
Tip: Using the right optional tools helps you manage valve cores securely, prevent leaks, and keep your tires performing well.
If you choose the right valve core tool, you make the removal process smoother and safer. You also protect your tire valves from damage and ensure your tires stay in top condition.
How to Use a Tire Valve Core Removal Tool: Step-by-Step Guide
Preparation and Safety
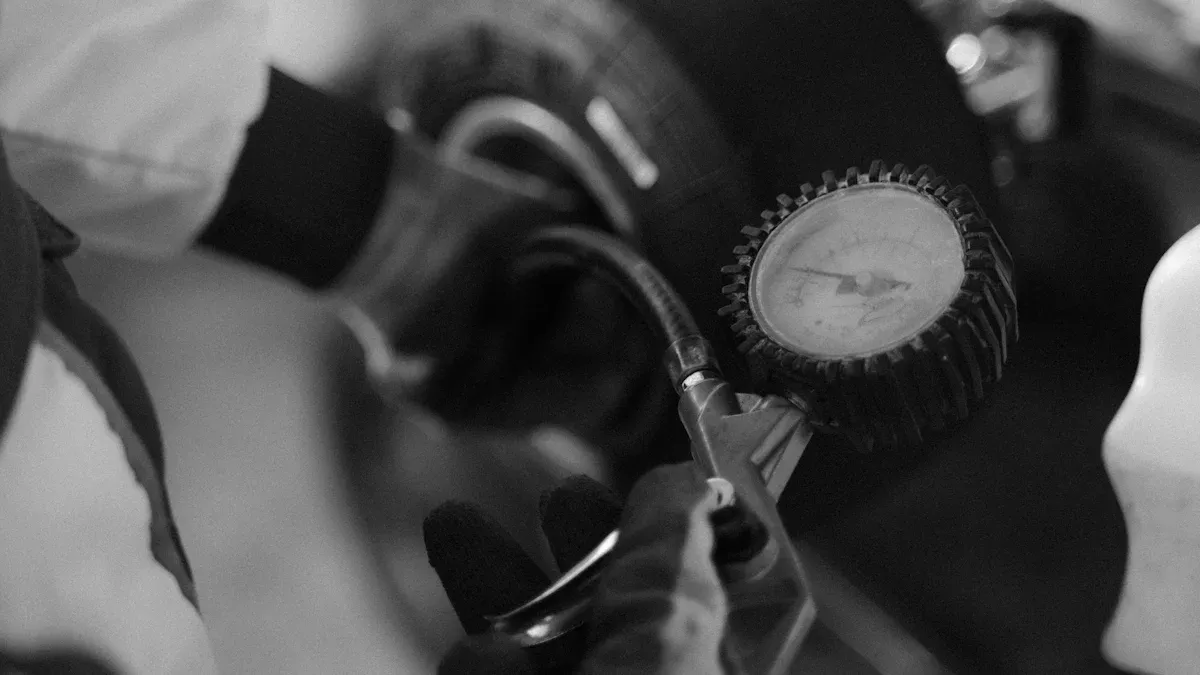
Before you start, you need to make sure you work safely and have everything ready. Begin by parking your vehicle on a flat, stable surface. This keeps your car from moving while you work. Always wear safety gloves and safety glasses. Gloves protect your hands from sharp tools, and glasses shield your eyes from sudden air bursts or debris. Choose cut-resistant gloves if you have them. Avoid loose clothing, which can get caught in moving parts. Work in a well-ventilated area for comfort and safety.
Follow these steps to prepare:
- Gather all your tools. You need a valve core remover, replacement valve cores, and a tire pressure gauge.
- Loosen the wheel nuts if you plan to remove the wheel, but do not lift the vehicle yet.
- Block the wheels to prevent rolling.
- Remove the valve cap from the tire.
- Press the valve to release the air. Make sure you fully deflate the tire. Use a tire pressure gauge to check that all air is out.
- Keep your hands and wrists away from under the wheel well if the vehicle is lifted.
- Never service split rim-type tires unless you have special training.
Tip: Always use the correct valve core removal tool. This helps you avoid sudden air release from any leftover pressure.
Valve Core Removal Process
Now you are ready for the removal. Start by making sure the tire is completely flat. This step prevents any sudden air bursts when you remove the valve core. Hold the valve stem steady with one hand. With your other hand, insert the valve core removal tool into the valve stem. Turn the tool counterclockwise. You will feel the core loosen as you turn.
Keep turning until the valve core comes out. Be careful, as a small amount of air may still escape. If you hear a hiss, let it finish before you pull the core out. Place the old valve core somewhere safe if you want to inspect it later. Look for signs of damage, corrosion, or worn seals. If you see any problems, you should replace the core.
Note: Always keep your face and eyes away from the valve opening during removal. This protects you from any debris or sudden air release.
Installing the New Tire Valve Core
When you insert the new valve core, make sure it matches the type you removed. Place the new core into the valve stem. Use the valve core tool to turn it clockwise. Tighten the core until it feels snug. Most experts recommend tightening it to “finger tight” and then giving it a small extra turn. You do not need to use much force. The Tire and Rim Association suggests a torque of 3 to 5 inch-pounds for valve cores. This means you should not overtighten. Too much force can damage the valve or cause leaks.
After you install the new core, replace the valve cap. The cap keeps dirt and moisture out of the valve. Now you can re-inflate the tire. Use your air compressor to fill the tire to the correct pressure. Check the pressure with your gauge. If you hear a hissing sound, check for leaks around the valve. If you see bubbles when you apply soapy water, the core may not be tight enough. Tighten it a little more if needed.
Tip: Always double-check the valve for leaks after you finish. This step helps you avoid slow air loss and keeps your tire in good shape.
Re-inflating and Checking for Leaks
After you install the new valve core, you need to re-inflate your tire and make sure there are no leaks. This step keeps your tire safe and helps it last longer. Follow these steps to complete the process:
Check the Valve Core
Make sure the valve core sits tightly in the valve stem. Use your valve tool to give it a gentle turn. Do not overtighten. A loose valve core can cause air to escape during tire inflation.Prepare for Inflation
Place the valve at the top (12 o’clock position). This helps prevent sealant or debris from blocking the valve. If you use a tubeless tire, you can remove the valve core for the first inflation. This lets more air flow in and helps the tire bead seat against the rim.Lubricate the Tire Bead
Spray soapy water around the tire bead and rim. This step makes it easier for the tire to seal. You can also add a small amount of sealant to the bead if needed. If the tire feels stiff, warm it in the sun for a few minutes to soften it.Inflate the Tire
Use a floor pump or air compressor. Inflate the tire slowly and listen for a popping sound. This sound means the bead has snapped into place. If the tire does not seat, use a ratchet strap or an old inner tube around the tire to push the bead against the rim. Inflate carefully to avoid overinflation, which can damage the tire or rim.Reinstall the Valve Core
If you removed the valve core for initial inflation, put it back in now. Use your valve tool to tighten it. Do not twist the valve stem during this step. Twisting can cause leaks.Set the Correct Pressure
Use a tire pressure gauge to check the pressure. Adjust the inflation until you reach the recommended level for your vehicle. Proper tire pressure helps your car handle well and keeps your tires in good shape.Check for Leaks
Remove the valve cap and spray soapy water on the valve stem. Watch for bubbles. Bubbles mean air is escaping and you have a leak. Listen for a hissing sound or feel for air coming out. If you find a leak, tighten the valve core a little more and add air if needed. Repeat the check for leaks until you see no bubbles.Finish Up
Replace the valve cap. This small part keeps dirt and moisture out of the valve and helps prevent future leaks.
Tip: Always check for leaks after any tire inflation or valve core replacement. This habit helps you avoid slow air loss and keeps your tires safe on the road.
By following these steps, you make sure your tire holds air and stays ready for driving. Regular checks and careful inflation protect your tires and help you spot problems early.
Practical Tips for Tire Valve Core Removal and Maintenance
Leak Detection and Prevention
You want your tires to hold air and keep you safe on the road. Detecting and preventing leaks in your schrader valve system is important. Most leaks happen after you replace a valve core, so you need to know what causes them and how to stop them.
- Valve stem damage is the most common reason for leaks. Rocks or curbs can hit the schrader valve and make the stem brittle or cracked.
- If you do not install the valve core correctly or fail to seat it fully, air can escape from the schrader valve.
- Dirt or debris inside the schrader valve can also cause leaks.
You can prevent these problems by checking your tires and schrader valve often. Inspect the valve stem for cracks or signs of wear. Use a soapy water solution on the schrader valve after you install a new core. If you see bubbles, you have a leak. Always use the right tools to install the valve core. If you notice damage to the valve stem, ask a professional to replace it. Regular tire rotation, wheel balancing, and alignment checks help keep your schrader valve and tire bead in good shape.
Tip: Professional service ensures your schrader valve seals properly and prevents future leaks.
Maintenance and Longevity Advice
You can make your schrader valve last longer with good maintenance habits. Follow these steps to keep your valve cores working well:
- Use the correct tools when you install or remove a schrader valve core. This prevents damage.
- Check your schrader valve cores for corrosion, dirt, or wear every few months.
- Clean the schrader valve core area to stop debris from causing leaks.
- Lubricate moving parts of the schrader valve with a small amount of silicone spray.
- Replace any worn seals or damaged schrader valve cores right away.
- Choose corrosion-resistant schrader valve cores, like stainless steel, if you drive in harsh weather.
- Fix any problems with your schrader valve as soon as you find them.
Keeping your schrader valve clean and using quality parts helps your tires stay inflated and safe.
By following these tips, you protect your schrader valve from damage and avoid leaks. Regular care keeps your tires and valve system strong for many miles.
Replacing a tire valve core is simple when you use the right tools. You keep your tires safe and your car running smoothly by choosing high-quality tools, such as those from Fortune. Regular valve core checks offer many benefits:
- You improve fuel efficiency and extend tire life.
- You reduce the risk of blowouts and keep your vehicle safe.
- You help the environment by lowering fuel use and emissions.
Stay proactive with your tire care for better performance and long-term savings.
FAQ
How often should you replace a tire valve core?
You should check your valve cores every time you change tires or notice air loss. Most experts recommend replacing them with every new tire or at least once every few years to prevent leaks.
Can you reuse a tire valve core after removal?
You should not reuse old valve cores. Dirt, corrosion, or worn seals can cause leaks. Always install a new, high-quality valve core for best results and safety.
What happens if you overtighten a valve core?
Overtightening can damage the valve stem or crush the core’s seal. This may cause air leaks. Tighten the core until it feels snug, then give it a slight extra turn.
Do all tires use the same type of valve core?
Most car and bike tires use Schrader valve cores. Some bicycles use Presta valves, which need a different core. Always check your tire’s valve type before buying replacements.
Why is a valve cap important?
The valve cap keeps dirt and moisture out of the valve stem. This small part helps prevent leaks and protects the valve core from damage. Always replace the cap after servicing your tire.
