
admin1
May 12, 2025
How to Get Rid of Wheel Weight Glue Without Scratching Your Rims
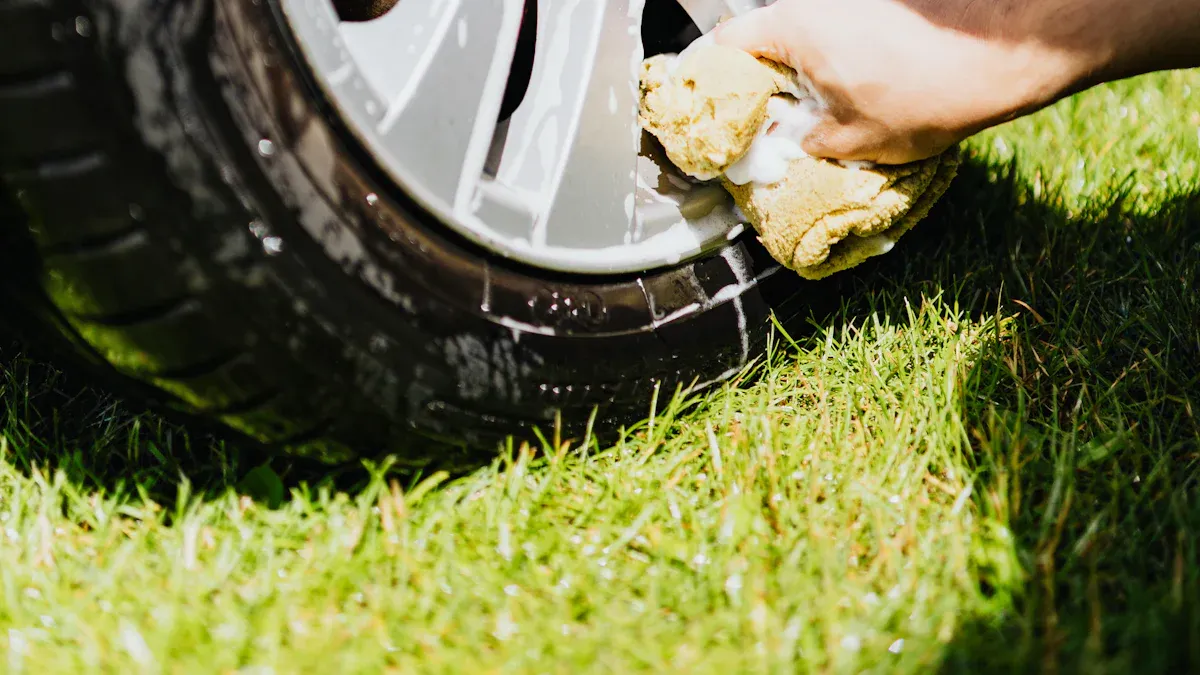
Getting rid of wheel weight glue can feel like a tricky task, especially when you’re trying to keep your rim looking flawless. You might worry about scratches or leftover residue, but don’t stress—it’s easier than you think with the right approach. By using a few simple tools and techniques, you can tackle that stubborn adhesive and restore your rim’s clean, polished look. Ready to dive in? Let’s make it happen!
Tools and Materials for Removing Wheel Weight Adhesive
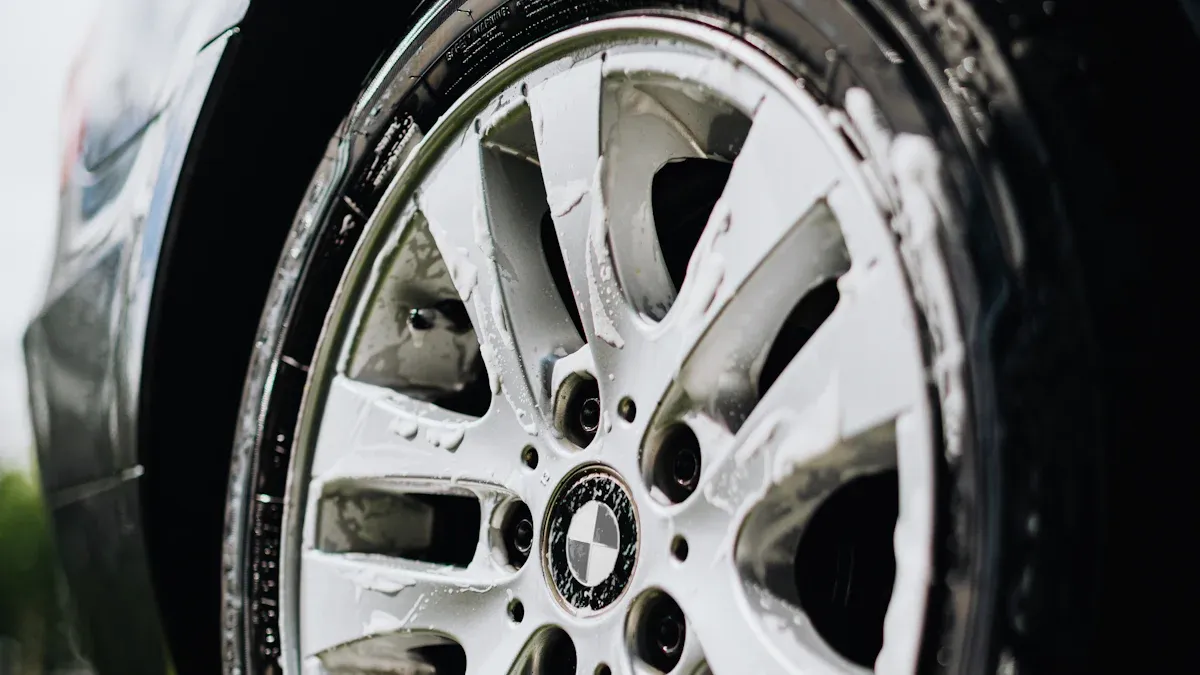
When it comes to removing that pesky glue left behind by wheel weights, having the right tools makes all the difference. You don’t need a fancy toolkit—just a few simple items can help you get the job done without damaging your rims. Let’s break it down.
Adhesive removers (e.g., Goo Gone, 3M Adhesive Remover)
Adhesive removers are your best friend for tackling stubborn glue. Products like Goo Gone or 3M Adhesive Remover are specially designed to break down sticky residues. They work by softening the adhesive, making it easier to wipe away. Just apply a small amount to the affected area, let it sit for a minute or two, and watch the magic happen. These products are safe for most surfaces, but it’s always a good idea to test them on a hidden spot first.
Pro Tip: Don’t overdo it! A little adhesive remover goes a long way. Using too much can make the surface slippery and harder to clean.
Isopropyl alcohol for dissolving residue
If you don’t have an adhesive remover on hand, isopropyl alcohol is a great alternative. It’s affordable, easy to find, and effective at breaking down glue residue. Use a clean cloth to dab some alcohol onto the glue, then gently rub the area. You’ll notice the adhesive starting to dissolve. Plus, alcohol evaporates quickly, so you won’t have to worry about leftover streaks.
Note: Stick to 70% or 90% isopropyl alcohol for the best results. Avoid using rubbing alcohol with added fragrances or oils, as they can leave behind a greasy film.
Plastic scrapers or old credit cards
When it’s time to physically remove the glue, a plastic scraper or an old credit card is your safest bet. These tools are firm enough to lift the adhesive but soft enough to avoid scratching your rims. Hold the scraper at a slight angle and gently push it under the glue. If the adhesive feels stubborn, reapply your adhesive remover or alcohol to loosen it up.
Warning: Never use metal tools like knives or razor blades. They can easily scratch or damage your rims, leaving you with a bigger problem than just glue residue.
By using these tools and materials, you’ll be well-equipped to handle any leftover adhesive from wheel weights. The process is simple, safe, and effective, ensuring your rims stay in pristine condition.
Microfiber towels or soft cloths
When it comes to cleaning up adhesive residue, microfiber towels or soft cloths are your go-to tools. These materials are gentle on your rims, so you don’t have to worry about scratches or damage. Plus, they’re super absorbent, which makes them perfect for wiping away adhesive remover, alcohol, or any leftover residue.
Here’s why microfiber towels work so well:
- Soft and Non-Abrasive: Unlike regular towels or paper towels, microfiber is designed to be gentle on delicate surfaces. This makes it ideal for cleaning rims without leaving marks.
- Highly Absorbent: Microfiber can hold several times its weight in liquid. This means you can clean up adhesive remover or alcohol quickly and efficiently.
- Reusable and Durable: You can wash and reuse microfiber towels multiple times, making them an eco-friendly and cost-effective choice.
Pro Tip: Use a clean section of the towel for each wipe. This prevents spreading the adhesive around and ensures a streak-free finish.
If you don’t have microfiber towels, a soft cotton cloth can work as a substitute. Just make sure it’s clean and free of lint. Avoid using rough or textured fabrics, as they can scratch your rims or leave behind fibers.
Heat sources like a hairdryer or heat gun
Heat is a game-changer when dealing with stubborn wheel weight glue. Applying heat softens the adhesive, making it easier to scrape off without damaging your rims. A hairdryer or heat gun is perfect for this job because it provides controlled heat without being too intense.
Here’s how to use heat effectively:
- Set the Right Temperature: If you’re using a hairdryer, set it to the highest heat setting. For a heat gun, use a low to medium setting to avoid overheating the rim.
- Warm the Adhesive: Hold the heat source a few inches away from the glue and move it in a circular motion. This ensures even heating and prevents damage to the rim’s finish.
- Test the Adhesive: After about 30 seconds, check if the glue has softened. If it feels tacky or pliable, it’s ready to be scraped off.
Warning: Don’t overheat the area. Excessive heat can damage the paint or finish on your rims. Always keep the heat source moving to avoid concentrating heat in one spot.
Using heat not only makes the adhesive easier to remove but also reduces the risk of scratching your rims. It’s a simple yet effective technique that saves you time and effort.
Protective gloves for safety
Safety should always come first, especially when working with adhesive removers, alcohol, or heat. Protective gloves are a must-have for this task. They shield your hands from harsh chemicals and prevent skin irritation.
Here’s why gloves are essential:
- Chemical Protection: Adhesive removers and solvents can be tough on your skin. Gloves act as a barrier, keeping your hands safe from irritation or burns.
- Improved Grip: Some gloves, like nitrile or latex ones, provide a better grip. This helps you handle tools and materials more securely, especially when working with slippery substances.
- Heat Resistance: If you’re using a heat gun, gloves can protect your hands from accidental burns or exposure to hot surfaces.
Note: Choose gloves that fit snugly but comfortably. Loose gloves can make it harder to work with precision, while tight gloves can be uncomfortable during extended use.
By wearing gloves, you not only protect your hands but also make the entire process safer and more efficient. It’s a small step that makes a big difference.
Step-by-Step Guide to Remove Wheel Weight Glue
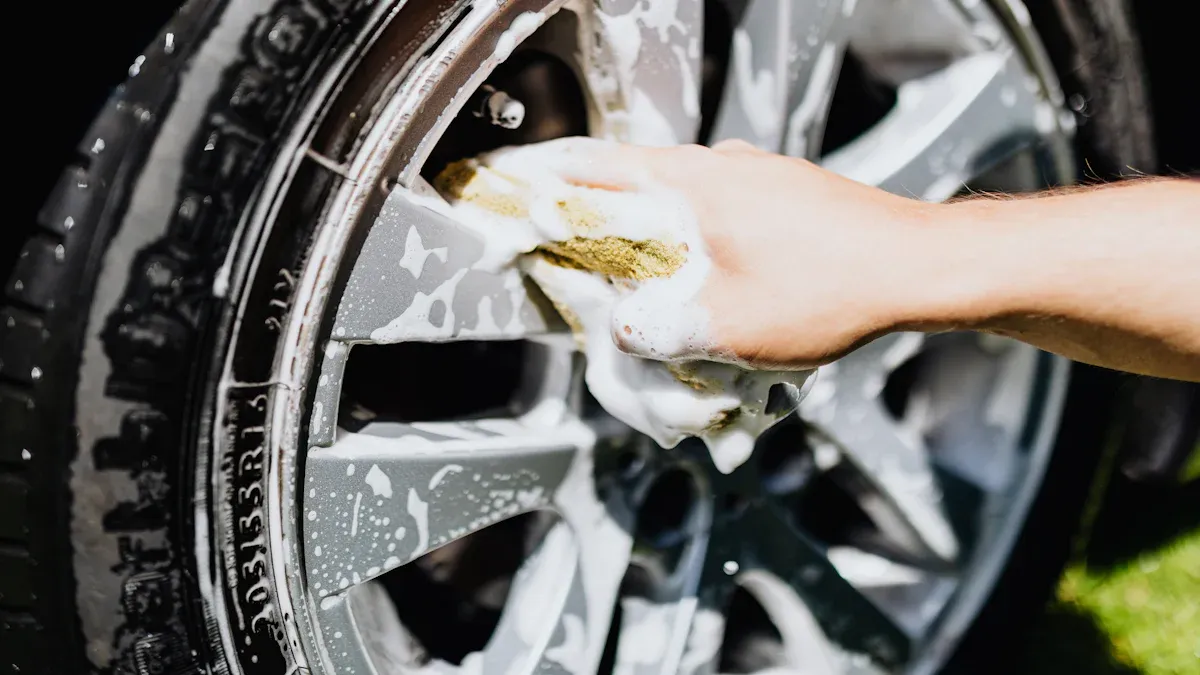
Step 1: Clean the area with a damp cloth
Before you start removing the glue, it’s important to prep the area. Grab a damp cloth and gently wipe down the surface of your rim. This step removes dirt, dust, and any loose debris that might get in the way. A clean surface ensures that the adhesive remover or alcohol can work directly on the glue without interference.
Pro Tip: Use warm water for better results. It helps loosen any light residue and makes the cleaning process more effective.
Take your time during this step. Rushing through it might leave behind particles that could scratch your rim when you start scraping. Once the area is clean, dry it with a soft cloth to avoid water spots.
Step 2: Apply adhesive remover or isopropyl alcohol
Now it’s time to tackle the glue. Choose an adhesive remover like Goo Gone or 3M Adhesive Remover, or use isopropyl alcohol if you prefer a household alternative. Apply a small amount of your chosen product directly onto the glue. Let it sit for a minute or two to break down the adhesive.
Note: Always test the product on a hidden part of the rim first. This ensures it won’t damage the finish.
While adhesive removers are highly effective, some users have reported mixed results with isopropyl alcohol. For instance, alcohol may not work well on stubborn glue residue and could even dry out the adhesive, making it harder to remove. If you find that alcohol isn’t doing the trick, switch to a stronger adhesive remover for better results.
Quick Tip: Avoid using vinegar as an alternative. While it’s often recommended for cleaning, it’s not as effective on tough adhesives and might worsen the situation.
Once the adhesive starts to soften, you’re ready for the next step.
Step 3: Use a plastic scraper to gently lift the glue
With the adhesive softened, grab a plastic scraper or an old credit card. These tools are perfect for removing glue without scratching your rims. Hold the scraper at a slight angle and gently push it under the glue. Work slowly and carefully to lift the adhesive without damaging the surface.
If the glue doesn’t come off easily, don’t force it. Reapply the adhesive remover or alcohol and let it sit for another minute. Patience is key here. For particularly stubborn spots, you might need to repeat this process a few times.
Warning: Never use metal tools like knives or razor blades. They can leave permanent scratches on your rims, which are much harder to fix than glue residue.
Once you’ve removed most of the glue, wipe the area with a microfiber towel to clean up any remaining residue. This ensures your rim looks as good as new.
Step 4: Wipe away residue with a microfiber towel
Once you’ve scraped off most of the adhesive, it’s time to clean up the remaining residue. Grab a microfiber towel—this is your secret weapon for a flawless finish. These towels are soft, non-abrasive, and perfect for delicate surfaces like your rims.
Here’s how to do it:
- Fold the Towel: Fold your microfiber towel into quarters. This gives you multiple clean surfaces to work with as you wipe.
- Dampen the Towel (Optional): If there’s still some adhesive remover or alcohol on the rim, you can use the towel dry. But if the area feels sticky, dampen the towel slightly with warm water for better results.
- Wipe in Circular Motions: Use gentle, circular motions to lift the residue. This technique helps avoid streaks and ensures you don’t miss any spots.
- Check Your Progress: After a few wipes, inspect the area. If you see any leftover adhesive, focus on those spots with a bit more pressure.
Pro Tip: Always use a clean section of the towel for each pass. This prevents spreading the residue around and keeps your rims looking spotless.
Microfiber towels are great because they trap dirt and residue within their fibers. Unlike regular cloths, they won’t leave lint or scratches behind. If you notice the towel getting dirty, switch to a fresh one or rinse it out before continuing. A clean towel makes all the difference!
Step 5: Repeat the process for stubborn spots
Sometimes, adhesive can be extra stubborn. Don’t worry—it’s normal. If you notice patches of glue that just won’t budge, you’ll need to repeat the process. Patience is key here, and a little extra effort will go a long way.
Here’s what to do:
- Reapply Adhesive Remover or Alcohol: Add a small amount of adhesive remover or isopropyl alcohol directly to the stubborn spot. Let it sit for another minute or two to break down the glue further.
- Use Heat Again (If Needed): If the adhesive still feels tough, grab your hairdryer or heat gun. Warm the area for about 30 seconds to soften the glue. This makes it easier to scrape off.
- Scrape Gently: Go back in with your plastic scraper or credit card. Work slowly and carefully to lift the adhesive without damaging the rim.
- Wipe Clean: Once the glue is gone, use your microfiber towel to clean the area. Make sure no residue is left behind.
Reminder: Avoid rushing or using excessive force. Scraping too hard can damage your rims, and that’s the last thing you want.
If the adhesive still refuses to come off, consider using a stronger solvent like WD-40 or Citri-Solv. Just remember to test it on a hidden area first to ensure it’s safe for your rims. With persistence and the right tools, even the most stubborn spots will eventually come off.
By repeating these steps as needed, you’ll achieve a clean, adhesive-free surface. Your rims will look as good as new, and you’ll feel great knowing you handled the job like a pro! 🚗✨
Tips for Stubborn Wheel Weight Adhesive
Use heat to soften the adhesive before scraping
Heat can make a big difference when dealing with stubborn adhesive. It softens the glue, making it easier to lift without damaging your rims. You can use tools like a hairdryer or warming tray to apply heat safely. Here’s a quick breakdown of heat application methods:
| Method of Heat Application | Description |
|---|---|
| Heated Tool | A heated spatula can lift adhesive carriers, followed by residue removal with a crepe square. Continuous heat prevents the glue from hardening again. |
| Hot Air | A hairdryer warms a larger area gently, reducing issues with adhesive solubility. This method is ideal for delicate surfaces like rims. |
| Warming Tray | A warming tray mobilizes larger adhesive patches, making removal easier with tools like microspatulas. |
| Cautions | Always test adhesive solubility before and after heat application. Heat can alter the glue’s properties, complicating removal. |
To use heat effectively, hold your hairdryer a few inches away and move it in circles over the adhesive. After about 30 seconds, test if the glue feels softer. If it does, you’re ready to scrape. Just remember to keep the heat source moving to avoid overheating the rim.
Apply a stronger solvent like Citri-Solv or WD-40
Sometimes, regular adhesive removers just don’t cut it. That’s when stronger solvents like Citri-Solv or WD-40 come into play. These products are designed to tackle tough adhesives that refuse to budge. Apply a small amount directly to the glue and let it sit for a minute or two. The solvent will break down the adhesive, making it easier to wipe away.
Tip: Always test the solvent on a hidden part of the rim first. This ensures it won’t damage the finish.
If you’re using WD-40, spray it sparingly to avoid oversaturating the area. For Citri-Solv, use a cloth to dab the solvent onto the adhesive. Both options work well for stubborn spots, but patience is key. Reapply as needed and scrape gently to avoid scratching your rims.
Avoid using metal tools to prevent scratches
Metal tools might seem tempting for scraping off tough glue, but they’re a recipe for disaster. Knives, razor blades, or metal spatulas can easily scratch your rims, leaving permanent damage. Instead, stick to plastic scrapers or old credit cards. These tools are firm enough to lift adhesive but gentle enough to protect your rims.
Reminder: If the adhesive feels too stubborn, don’t force it. Reapply your solvent or use heat to soften the glue before scraping.
By avoiding metal tools, you’ll keep your rims looking flawless while removing even the most stubborn adhesive. It’s a simple choice that saves you from costly repairs later.
Test any product on a small, hidden area first
Before you dive into removing adhesive from your rims, it’s smart to test any product on a small, hidden area first. This step helps you avoid unexpected damage to your rims’ finish. Not all rims are created equal—some have delicate coatings or unique materials that might react poorly to certain chemicals. Testing ensures you’re using a safe method.
Here’s how you can do it:
- Pick a Hidden Spot: Look for an area on your rim that’s out of sight, like the back side or a corner near the tire. This spot won’t be noticeable if something goes wrong.
- Apply a Small Amount: Use a cotton swab or a tiny piece of cloth to apply a small amount of the adhesive remover, alcohol, or solvent you plan to use. Keep the application light—there’s no need to soak the area.
- Wait and Observe: Let the product sit for a minute or two. Watch for any changes, like discoloration, fading, or bubbling. If the rim’s finish stays intact, you’re good to go. If you notice damage, stop immediately and try a gentler alternative.
Tip: If you’re unsure about a product, check its label for compatibility with painted or coated surfaces. Many adhesive removers include this information.
Testing first saves you from costly mistakes. Imagine using a strong solvent only to find it stripped the paint off your rim—yikes! By taking a few extra minutes to test, you’ll protect your rims and feel confident moving forward.
This step might seem small, but it’s a game-changer. It’s better to be safe than sorry when dealing with chemicals and delicate surfaces. So, grab your tools, test your product, and get ready to tackle that glue like a pro! 🚗✨
Preventive Measures to Avoid Adhesive Issues
Opt for rim-friendly adhesive strips for wheel weights
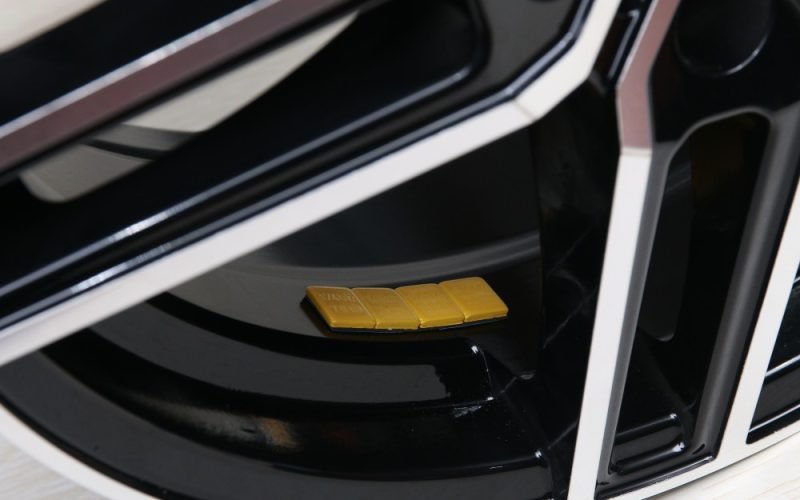
When it comes to keeping your rims in great shape, choosing the right type of wheel weights is key. Instead of traditional clip-on weights, consider using rim-friendly adhesive wheel weights. These are designed to stick securely to your rims without causing damage. They’re easy to apply and remove, leaving behind minimal residue compared to other options.
Adhesive wheel weights are also less likely to shift or fall off, especially if you drive on bumpy roads. Plus, they’re available in various sizes and shapes, so you can find one that fits your rims perfectly. By opting for these, you’ll save yourself the hassle of dealing with stubborn glue and potential scratches in the future.
Tip: Look for high-quality adhesive strips specifically labeled as rim-safe. These products are designed to protect your rims while providing excellent balance for your wheels.
Regularly clean rims to prevent residue buildup
Keeping your rims clean is one of the simplest ways to avoid adhesive issues. Dirt, grime, and old glue can build up over time, making it harder for new wheel weight tape to stick properly. A quick cleaning routine can save you from this headache.
Here’s what you can do:
- Wipe down your rims with a damp cloth every few weeks.
- Use a mild cleaner to remove stubborn dirt or grease.
- Dry the rims thoroughly to prevent water spots or rust.
Regular cleaning not only keeps your rims looking shiny but also ensures that any adhesive residue doesn’t harden over time. This makes future removal much easier and less stressful.
Pro Tip: Avoid using harsh chemicals or abrasive tools when cleaning your rims. These can damage the finish and make it harder for adhesive strips to stick.
Consult professionals for proper installation of wheel weights
If you’re unsure about installing wheel weights yourself, don’t hesitate to consult a professional. Improper installation can lead to uneven weight distribution, which affects your car’s performance and can even damage your rims. Professionals have the tools and expertise to install wheel weights correctly, ensuring they stay in place and don’t leave behind excessive residue.
A professional can also recommend the best type of wheel weight tape for your specific rims. This ensures you’re using a product that’s both effective and safe for your wheels. While it might cost a little extra, professional installation can save you time and prevent costly mistakes in the long run.
Reminder: Always ask your mechanic or tire specialist about rim-friendly options. They can guide you toward products that minimize adhesive issues and protect your rims.
By following these preventive measures, you’ll keep your rims in top condition and avoid the hassle of dealing with stubborn adhesive. A little effort now can save you a lot of time and frustration later!
Avoid harsh chemicals that can damage rim finishes
When cleaning your rims or removing adhesive residue, the products you use matter. Harsh chemicals might seem like a quick fix, but they can do more harm than good. Many of these products contain strong acids or solvents that strip away the protective coating on your rims. Once that coating is gone, your rims become vulnerable to scratches, discoloration, and even corrosion.
So, what should you avoid? Stay away from cleaners labeled as industrial-strength or those containing ingredients like hydrochloric acid, bleach, or ammonia. These chemicals are too aggressive for delicate surfaces like rims. Even some all-purpose cleaners can be risky if they aren’t specifically designed for automotive use.
Instead, choose products that are safe for your rims. Look for labels that mention “rim-safe” or “gentle on finishes.” Adhesive wheel weights often leave behind residue, but you can remove it with mild adhesive removers or isopropyl alcohol. These options are effective without being overly harsh. Always test any product on a small, hidden area first to ensure it won’t damage the finish.
If you prefer a DIY approach, warm soapy water can work wonders. Mix a few drops of dish soap with warm water and use a soft cloth to clean the area. This method is gentle yet effective for light residue and general cleaning.
Remember, protecting your rims starts with the right choices. Avoiding harsh chemicals not only keeps your rims looking great but also extends their lifespan. A little extra care goes a long way in maintaining that polished, showroom-worthy shine.
Removing wheel weight glue doesn’t have to be stressful. With the right tools and a little patience, you can clean your rims without a scratch. Follow the steps outlined here to safely remove adhesive and restore your rims’ shine. Don’t forget to use adhesive wheel weights to minimize residue and keep your rims in great shape. Have questions or tips? Share them in the comments below—your experience could help someone else tackle this task with confidence! 🚗✨
FAQ
How long does it take to remove wheel weight glue?
It depends on the adhesive’s stubbornness. Most glue can be removed in 15–30 minutes using the right tools and techniques. Stubborn spots may take longer, especially if you need to repeat steps or apply heat.
Can I use household items to remove the glue?
Yes! Isopropyl alcohol and an old credit card work well. A hairdryer can soften the adhesive. Avoid vinegar or harsh cleaners, as they might damage your rims. Stick to safe, rim-friendly options.
Will adhesive removers damage my rims?
Most adhesive removers, like Goo Gone or 3M Adhesive Remover, are safe for rims. Always test the product on a hidden area first to ensure compatibility with your rim’s finish. This prevents unexpected damage.
What’s the best way to avoid scratches during removal?
Use plastic tools like scrapers or old credit cards. Avoid metal tools entirely. Microfiber towels are gentle and won’t scratch. Applying heat to soften the glue also reduces the risk of scraping too hard.
How can I prevent adhesive residue in the future?
Choose rim-friendly adhesive wheel weights. Regularly clean your rims to prevent buildup. Consult professionals for proper installation. These steps minimize residue and keep your rims looking flawless.
