
admin1
September 8, 2025
How to Replace a Rubber Valve Stem on Your Car Tire

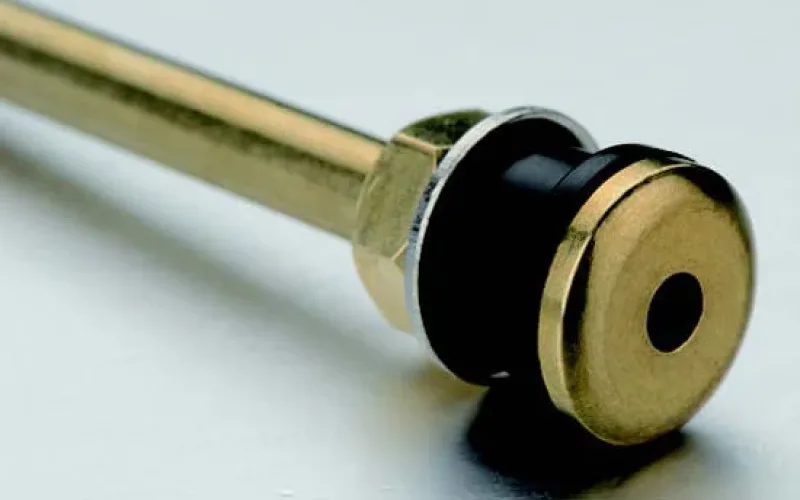
You can swap out a rubber valve stem on your car tire without stress. With the right approach, you handle tire valve stems like a pro using simple tools.
Tip: Take your time and double-check each step. Patience helps you get it right the first time!
Tools and Materials for Replacing a Rubber Valve Stem
Essential Tools Checklist
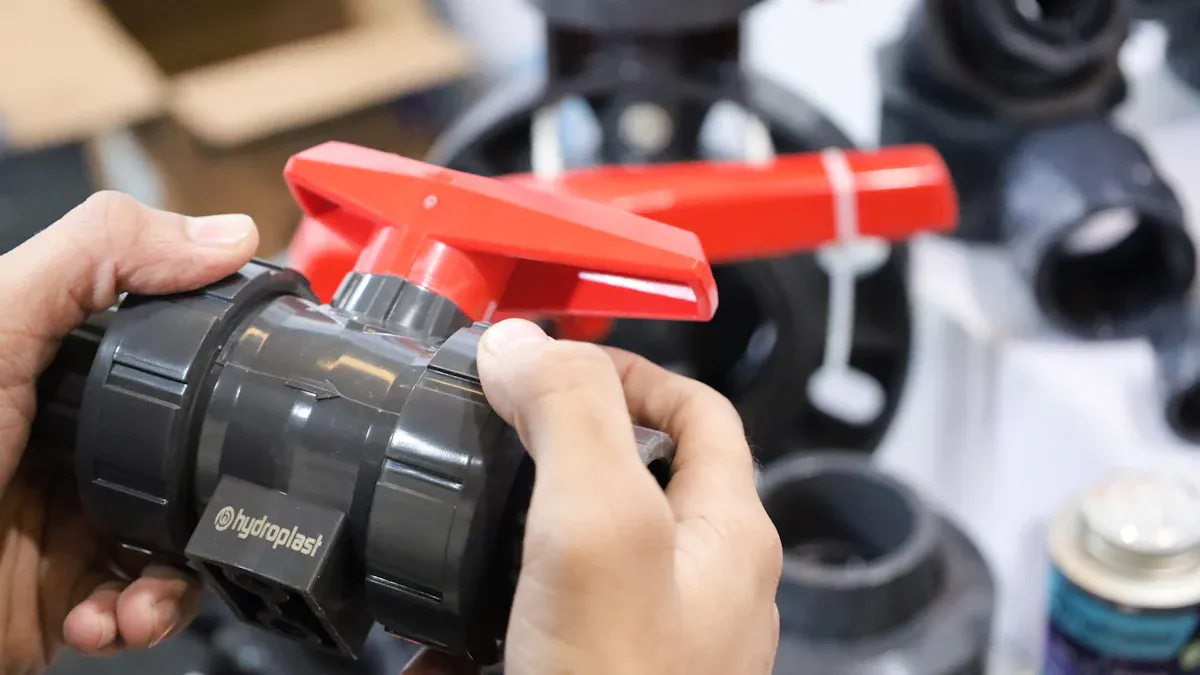
Before you start, gather all the tools you need. Having everything ready makes the job smoother and safer. Here’s a handy checklist you can use:
- Air compressor with a hose
- Metal jack
- Jack stands
- Lug nut wrench
- Needle nose pliers
- Valve stem tool (valve core tool)
- Bead breaker tool (or tire iron and sledgehammer)
- Ratchet strap
Tip: Lay out your tools before you begin. This way, you won’t have to stop in the middle of the job to look for something.
Safety Gear for Working with Tire Valve Stems
Safety comes first when you work with tires. You want to protect yourself from flying debris, loud noises, and heavy objects. Here’s a quick look at the safety gear you should use:
| Safety Gear | Purpose |
|---|---|
| Eye and Face Protection | Protects against hazards like chemicals, acids, and flying objects. |
| Hearing Protection | Shields your ears when using loud tools like bead setters or air hammers. |
| Gloves | Keeps your hands safe from chemicals and sharp edges. |
| Steel-Toed Boots | Guards your feet from heavy objects and tripping accidents. |
Note: Never skip safety gear. Even a simple job like replacing tire valve stems can lead to injuries if you’re not careful.
Choosing Quality Replacement Parts
Picking the right replacement parts matters for your safety and your car’s performance. When you shop for new tire valve stems, check these important factors:
- Make sure the valve stem fits your rim hole size.
- Check that it matches your tire’s pressure rating.
- Look for temperature ratings that suit your local weather.
- If your car uses a Tire Pressure Monitoring System (TPMS), choose a valve stem that works with it.
You can also use this table to help you pick the best option:
| Criteria | Description |
|---|---|
| TMPS Compatibility | Works with Tire Pressure Monitoring Systems for accurate readings. |
| Pressure Ratings | Matches your tire’s pressure needs to prevent leaks. |
| Temperature Ratings | Handles the heat and cold your car faces. |
| Rim Hole Size | Fits the exact size of your wheel’s valve hole (.453″, .625″, .390″, etc.). |
Remember: Quality tire valve stems help keep your tires inflated and your ride safe.
Preparing Your Vehicle and Work Area for Installing the Valve Stem
Parking and Securing the Car
You want to start with a safe work area. Pick a flat spot away from traffic. A driveway or garage works best. Make sure the ground is solid. Soft ground can cause the jack to sink. Turn off your engine and set the parking brake. Place wheel chocks behind the tires that stay on the ground. This keeps your car from rolling.
Tip: If you work outside, check the weather. Rain or wind can make the job harder and less safe.
Gather your tools before you begin. You need an air compressor, floor jack, lug nut wrench, needle-nose pliers, and a valve stem tool. Lay them out where you can reach them. This saves time and helps you stay organized.
Removing the Wheel Safely
You need to loosen the lug nuts before you lift the car. Use your lug nut wrench and turn each nut just enough to break it free. Do not take them off yet. Place the floor jack under the car’s jacking point. Lift the car until the wheel is off the ground. Slide jack stands under the frame for extra safety.
Now you can remove the tire. Take off the loosened lug nuts and set them aside. Pull the wheel straight off the hub. Put it flat on the ground. This makes it easier to work on and keeps it from rolling away.
Here’s a quick checklist to help you remember each step:
- Loosen lug nuts while the car is on the ground.
- Lift the car with a floor jack.
- Place jack stands for safety.
- Remove the tire by taking off the lug nuts and pulling the wheel away.
Note: Always double-check that the car is stable before you remove the tire. Safety comes first.
You are now ready to move on to the next step—removing the old valve stem and installing a new one.
Removing the Tire and Old Rubber Valve Stem
Deflating the Tire and Breaking the Bead
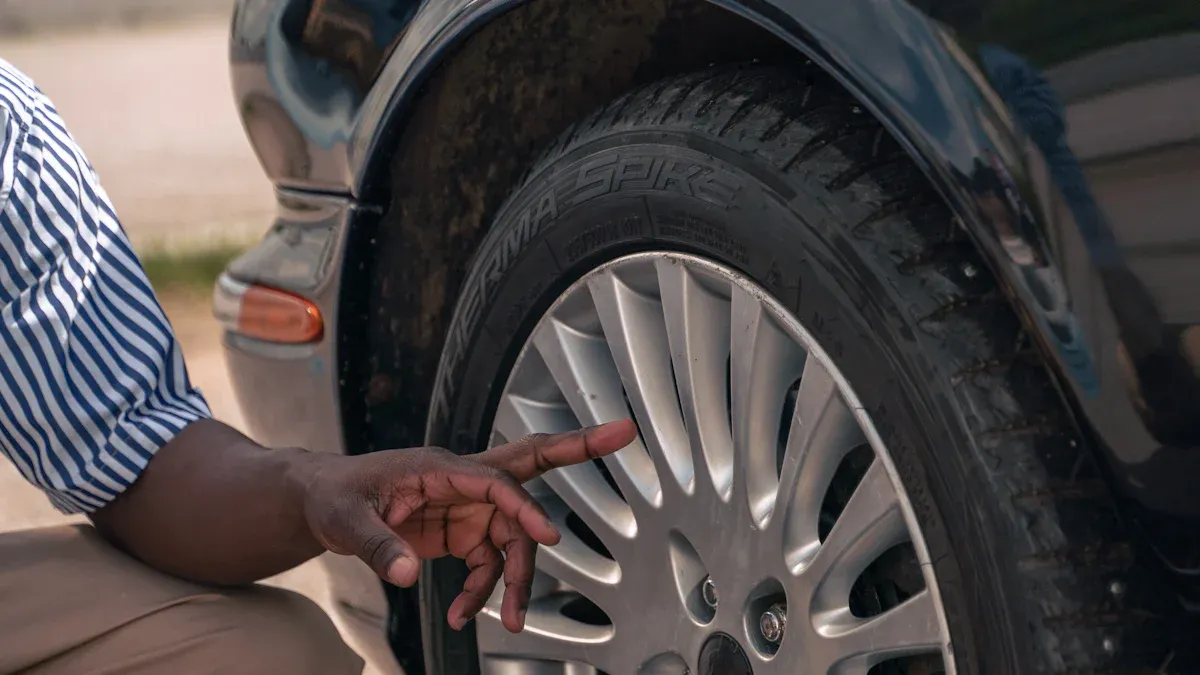
Start by letting all the air out of your tire. You do this by removing the valve core from the rubber valve stem. Use your valve core tool and twist it counterclockwise. You will hear the air rush out. Wait until the tire is completely flat before you move on.
Now, you need to break the bead. The bead is where the tire seals tightly against the wheel. This step can feel tough, but you have a few options. Many professional mechanics use a bead breaker tool because it gives you good leverage and keeps the wheel safe from damage. If you do not have a bead breaker, you can use a tire iron and a sledgehammer, but be careful not to hit the wheel itself.
Here’s a quick table to show you some tools and their purposes:
| Tool | Purpose |
|---|---|
| Bead Breaker Tool | Provides leverage to separate the tire from the wheel without damage. |
| Quick Valve Change Tool | Allows for replacing rubber valve stems without removing the tire. |
Tip: Always keep your hands and feet clear when breaking the bead. The tire can move suddenly once the bead pops free.
Separating the Tire from the Rim
Once you break the bead, you need to separate the tire from the rim. This step gives you access to the tire valve stems. Here’s how you do it:
- Make sure the tire is fully deflated.
- Stand the tire upright with the valve facing up.
- Place the bead breaker against the sidewall near the rim and press down until you hear a pop. This sound means the bead has broken.
- Repeat this process on the other side of the tire.
- Lay the tire flat and use a pry bar to gently lift the tire away from the rim. Insert the pry bar between the rim and the tire, then push down to separate them.
- Work your way around the tire, moving the pry bar a few inches at a time, until the tire is loose all the way around.
Note: Take your time with this step. Rushing can damage the rim or the tire.
Removing the Old Valve Stem
Now you can remove the old rubber valve stem. Reach inside the rim and grab the base of the valve stem with needle nose pliers. Some people use a sharp utility knife to cut the old valve stem from the inside, but you must be careful not to scratch the rim.
Here are some things to watch out for:
- Air may still escape quickly if the tire is not fully deflated. Be ready for a sudden rush of air.
- Hold the valve stem tightly so it does not shoot across your work area.
- Make sure you have a way to refill the tire with air after you finish.
Once you remove the old stem, check the hole in the rim for any dirt or damage. Clean it if needed. This step helps your new tire valve stems seal tightly and last longer.
Tip: Always double-check that you have the right replacement rubber valve stem before you install it. Using the correct part keeps your tire safe and helps prevent leaks.
Installing the Valve Stem and Reassembling the Tire
Lubricating and Inserting the New Valve Stem
You have your new rubber valve stem ready. Now, you want to make sure it goes in smoothly and seals tight. Many tire shops install valve stems dry, but you can make the job easier with a little soapy water. This simple trick helps the rubber slide into place without special tire lube.
Here are some lubricants you can use when you install the new valve stem:
- Soapy water works great and is easy to make at home.
- Some shops use tire mounting lube, but it’s not required.
- You can also install the stem dry, but soapy water makes it easier.
To insert the new valve stem, follow these steps:
- Clean the rim hole. Remove any dirt or old rubber so the new stem seals well.
- Push the rubber valve stem through the hole from inside the wheel. Make sure the base sits flat against the rim.
- Grab the stem from the outside and pull it until you feel it snap into place. You want the rubber lip to sit snug against the rim.
Tip: If you have trouble pulling the stem through, use needle nose pliers or a valve stem tool. Just be gentle so you don’t tear the rubber.
Remounting the Tire and Inflating
Now you’re ready to put the tire back on the wheel and get it filled with air. This part takes a little muscle, but you can do it if you go step by step.
Here’s how you mount and inflate the tire after valve stem replacement:
- Make sure the tire and wheel are both clean and dry. Wipe away any dirt or water.
- Place the tire over the wheel. Line up the bead with the rim.
- Use your hands or a tire iron to work the bead over the rim. Go a few inches at a time. Don’t rush.
- Once the tire is on, install a new valve core in the valve stem.
- Attach your air compressor hose to the valve stem. Inflate the tire slowly. Watch the bead pop into place as the tire fills.
- Check the tire pressure with a gauge. Add or release air until you reach the number listed on your car’s door sticker or owner’s manual.
- Screw the valve cap back onto the stem.
Note: Always check the tire pressure after you inflate the tire. Too much or too little air can cause problems on the road.
Checking for Leaks and Proper Installation
You want to make sure your work holds up. Slow air leaks can sneak up on you and cause flat tires or low tire pressure. The best way to check for leaks is with a soapy water solution.
Here’s what you do:
- Mix a little dish soap with water in a spray bottle or cup.
- Spray or pour the soapy water around the valve stem, tire bead, sidewall, and treads.
- Watch for bubbles. If you see any, air is escaping and you need to fix the leak.
If you don’t see bubbles, your valve stem replacement worked. Your tire should hold air and keep the right tire pressure.
Callout: Always double-check your tire pressure after you finish. This keeps your ride safe and helps your tires last longer.
You’ve now learned how to replace tire valve stems, install the new valve stem, and check for leaks. With these steps, you can keep your tires in top shape and avoid slow air leaks that cause trouble down the road.
Signs Your Valve Stems May Need Replacement and When to Replace ATV Valve Stem
Common Symptoms of Faulty Tire Valve Stems
You might wonder how to spot the signs your valve stems may need replacement. Faulty valve stems can sneak up on you, but there are some clear warning signals you should watch for. Here’s what you need to look out for:
- Persistent Loss of Tire Pressure
If you keep losing air in your tire, even after you fill it up, the valve stem could be the problem. This is one of the most common signs. - Visible Damage
Check your valve stems for cracks or dry rot. You might see corrosion or even small splits in the rubber. These can let air escape and lower your tire pressure. - Unusual Vibrations
Sometimes, a bad valve stem causes your car to shake or vibrate while you drive. This can make your ride feel rough and unsafe.
You should also know what causes valve stems to fail. Take a look at this table for a quick overview:
| Cause | Description |
|---|---|
| Natural Wear and Tear | Rubber gets brittle and cracks over time from sun, heat, and cold. |
| Improper Installation | If the valve stem isn’t seated right, it can leak air. |
| Impact Damage | Hitting curbs or road debris can crack the stem. |
| Corrosion | Water, salt, and grime can eat away at the metal parts of the valve stem. |
Tip: Check your tire pressure regularly. If you notice it dropping often, inspect your valve stems for damage.
So, how often should tire valve stems be replaced? Most experts say every 4 to 6 years. It’s also smart to replace them when you get new tires. If you drive in harsh weather, check them more often to avoid problems.
How to Replace ATV Valve Stem
If you ride an ATV, you might need to replace atv valve stem from time to time. The process is a bit different from car tires, but you can handle it with some basic tools. Here’s a step-by-step guide:
- Remove the tire. Find a flat spot, lay the tire down, and break the bead gently.
- Take out the old valve stem. Use pliers to pull it out or cut it off if needed.
- Add a little dish soap or detergent to the new valve stem. This helps it slide in easily.
- Insert the new valve stem through the hole. Pull it through with pliers or a valve tool until it snaps into place.
- Inflate the tire. Make sure the bead seats properly. You can use a strap or rope to help if the bead won’t pop into place.
- Use a tire repair kit if you need extra help, and consider a metal valve extender for easier access.
Remember, how often should tire valve stems be replaced? Stick to the 4 to 6-year rule, or swap them out when you put on new tires. Regular checks help you catch problems early and keep your ATV rides safe.
Replacing a rubber valve stem on your car tire is a simple job when you use the right tools and follow each step. You should always check for leaks before you hit the road. If you skip this, you risk tire blowouts or losing control while driving. Using quality valve stems from trusted brands like Fortune gives you better flexibility and corrosion resistance. Here’s what experts suggest:
- Match the valve stem to your rim size.
- Replace valve stems with every new tire.
- Use proper tools for a secure fit.
- Inspect for cracks or leaks often.
Take your time, follow safety tips, and ask for help if you need it. Your safety matters most!
FAQ
How often should you replace rubber valve stems?
You should replace rubber valve stems every time you get new tires. Most experts recommend changing them every 4 to 6 years. If you see cracks or leaks, swap them out sooner to keep your tires safe.
Can you drive with a leaking valve stem?
You should not drive with a leaking valve stem. Air can escape quickly, which may cause a flat tire or even a blowout. Fix the leak right away to stay safe on the road.
What tools do you need to replace a valve stem?
You need a valve core tool, needle nose pliers, a jack, jack stands, a lug nut wrench, and an air compressor. A bead breaker tool makes the job easier, but you can use a tire iron if needed.
How do you check for a valve stem leak?
Mix dish soap and water. Spray or brush it on the valve stem. If you see bubbles, air is leaking out. This quick test helps you spot leaks before they cause bigger problems.
Are all valve stems the same size?
No, valve stems come in different sizes. Common sizes include .453″, .625″, and .390″. Always check your rim’s hole size before you buy a new valve stem. Using the right size helps prevent leaks.
