
admin1
July 25, 2025
Can You Fix a Tyre Valve Stem Leak Without Removing the Tire
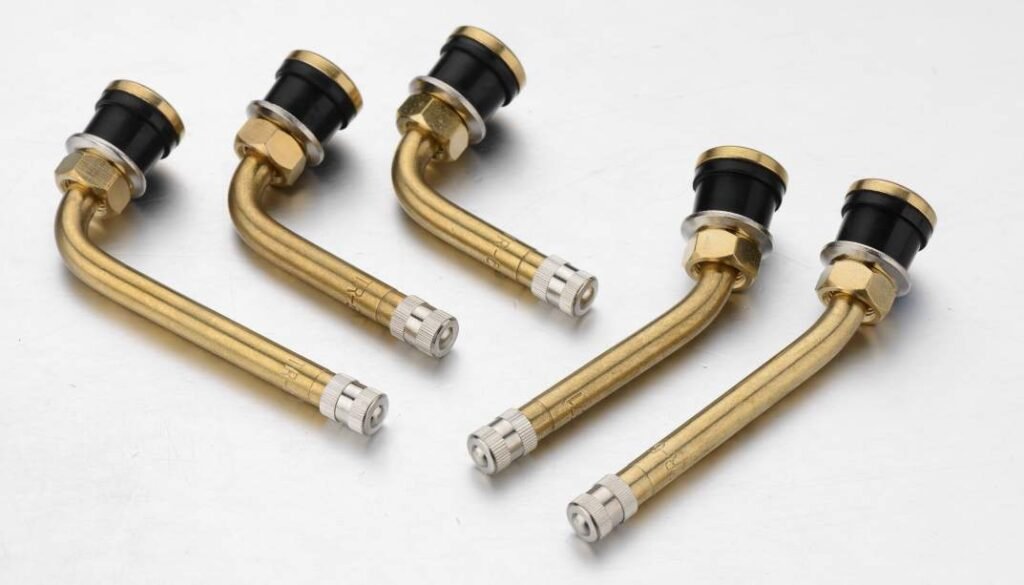
In modern wheel assemblies, components such as tire valves, tire valve caps, and the integrated tpms valve stem work together to maintain pressure stability. When slow air loss occurs, the issue is often traced back to valve stem aging, core leakage, corrosion, or sealing failure at the rim interface.
In many cases, a tyre valve stem leak can be corrected without fully dismounting the tire from the wheel. However, feasibility depends on where the leak originates and whether bead access can be achieved safely.
When a Valve Stem Can Be Repaired Without Full Tire Removal
Situations Suitable for External Repair
Not all valve-related leaks require complete tire dismounting. The following conditions are typically serviceable without removing the tire entirely:
• Leakage from the valve core
• Minor sealing failure at the outer stem body
• Aging rubber snap-in stem with accessible bead area
• No structural damage to the rim hole
If the leak is confined to the valve core, replacement is straightforward. After fully deflating the tire, the core can be removed using a valve tool and replaced without disturbing the bead. This resolves most slow leaks originating from internal core wear or contamination.
If the leak appears around the outer stem body, limited bead separation near the valve position may provide enough clearance to extract and reinstall a snap-in stem. This method requires controlled bead breaking only in the local area, not full tire removal.
For rubber snap-in tire valves in passenger vehicles, this process is often efficient when proper tools are available.
When Full Removal Is Recommended
Partial repair should be avoided under the following conditions:
• The bead cannot be separated safely
• The stem base is torn or bonded to the rim
• The rim hole shows corrosion or deformation
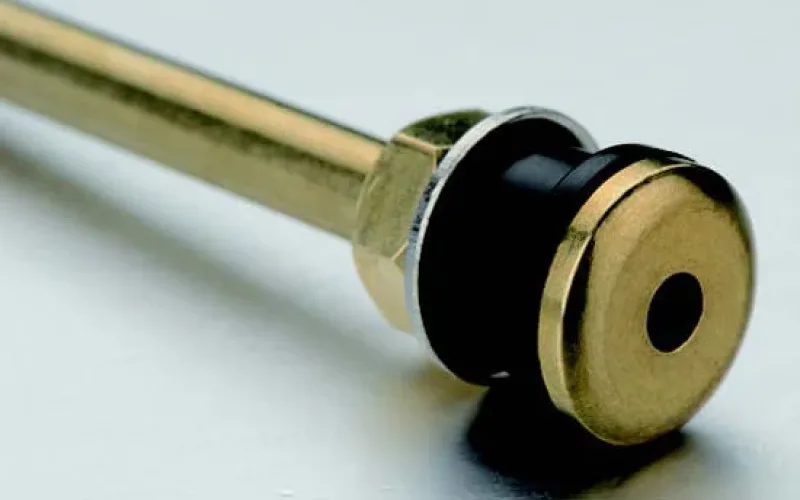
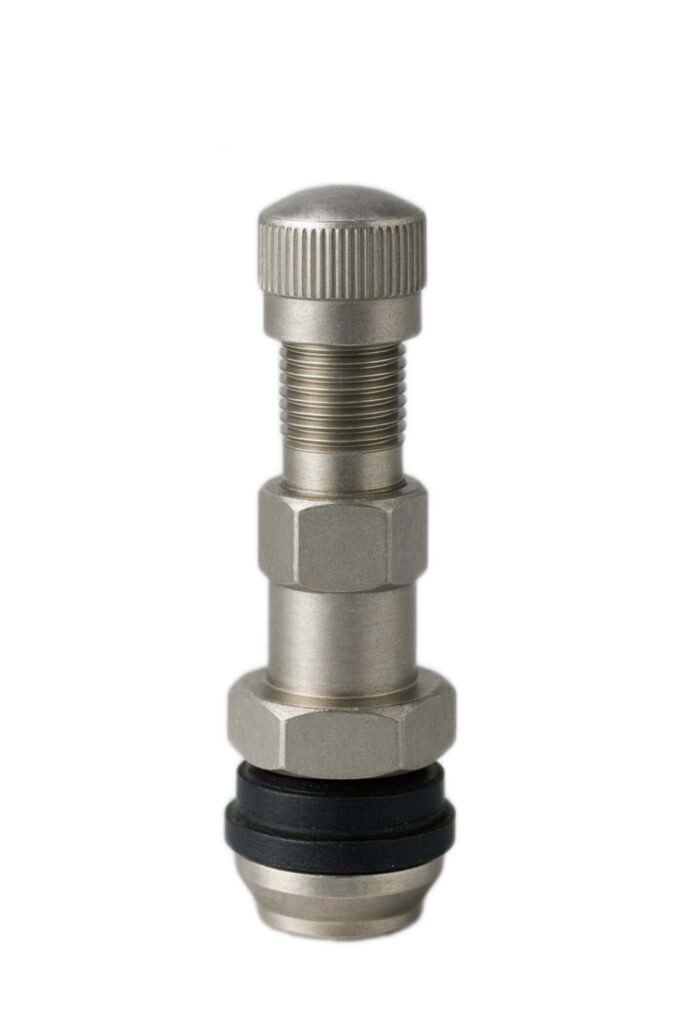
• The vehicle uses clamp-in metal tpms valve stem assemblies
• There is risk of bead damage during forced removal
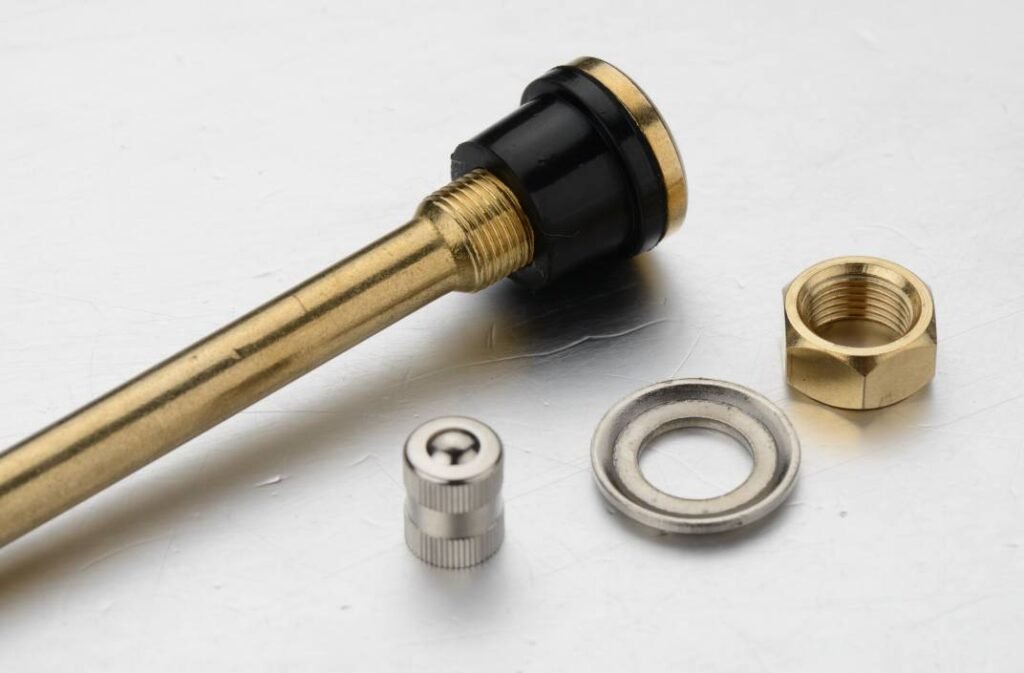
Metal clamp-in stems used in TPMS-equipped vehicles require internal access for correct torque application and seal replacement. Attempting replacement externally may compromise sealing integrity or damage the sensor body.
In such cases, full tire demounting remains the correct service approach.
How to Confirm a Tyre Valve Stem Leak
Before performing any repair, leak confirmation is essential.
Visual Indicators
Inspection should focus on:
• Cracks at the base of rubber stems
• Corrosion on metal stems
• Missing or damaged tire valve caps
• Thread oxidation
• Signs of salt accumulation
A missing cap allows moisture and debris to contaminate the valve core. Over time, this can prevent proper sealing and create intermittent leakage.
Functional Leak Testing
Common confirmation methods include:
- Soapy Water Application
Apply a soap solution around the stem and rim interface. Continuous bubble formation indicates air escape. - Audible Inspection
In quiet conditions, slow leaks may produce a faint hissing sound. - Pressure Monitoring
Repeated pressure drop after inflation suggests a sealing issue at the valve or bead area. - Submersion Test (When Wheel Is Removed)
Immersing the stem area in water clearly reveals bubble streams if leakage exists.
Regular inspection intervals—monthly for fleet vehicles and quarterly for passenger vehicles—reduce the risk of roadside failure.
Tools Required for Valve Stem Replacement
Efficient repair depends on proper equipment selection.
Essential Tools
• Valve core removal tool
• Valve stem puller
• Replacement valve stem (matched to application)
• Tire pressure gauge
• Compressed air source
Valve stem type must match vehicle pressure requirements:
Rubber snap-in stems are generally rated up to 65 psi and are common in passenger vehicles.
High-pressure snap-in versions support medium-duty applications.
Metal clamp-in stems handle heavy-duty or high-speed service conditions and require precise torque during installation.
Selecting incorrect specifications can result in premature leakage or structural fatigue.
fortune manufactures both rubber and metal tire valves with controlled rubber hardness and precision-machined metal bodies to ensure consistent sealing under defined pressure ratings.
Optional Equipment
• Manual bead breaker
• Lubricant for bead reseating
• Rim protectors
• Replacement valve cores and tire valve caps
Proper caps remain important after repair, as they act as a secondary contamination barrier.
Step-by-Step: Replacing a Rubber Valve Stem Without Full Tire Removal
This method applies only to rubber snap-in stems and non-TPMS metal clamp-in systems.
1. Secure the Vehicle
Park on a stable surface and engage the parking brake. Raise the vehicle if additional access is required.
2. Fully Deflate the Tire
Remove the tire valve cap.
Use a valve core tool to release air gradually.
Ensure complete deflation before attempting bead separation.
3. Break the Bead Locally
Apply controlled pressure near the valve position to separate the bead slightly from the rim. Avoid excessive force that may distort the bead or damage the rim flange.
Lubrication may assist controlled bead movement.
4. Remove the Old Stem
Grip the inner portion of the rubber stem and pull outward using a valve stem tool. The stem should release through the rim hole once tension overcomes the rubber base.
Inspect the rim hole carefully. Remove debris and verify that no corrosion or burrs remain.
5. Install the New Stem
Insert the new rubber stem through the rim hole from the inside.
Use a puller tool to seat the base securely until the rubber flange snaps fully into position.
Proper seating ensures airtight compression between the rubber base and rim surface.
fortune applies dimensional tolerance control during manufacturing to ensure consistent snap-in force and reliable rim engagement.
6. Reinflate and Reseat
Restore air pressure gradually while monitoring bead alignment.
Confirm that the bead seats evenly along the rim circumference.
Inflate to the manufacturer-recommended pressure specification.
Reinstall a quality tire valve cap to protect the core.
Post-Repair Inspection
After reinflation, perform leak verification:
• Apply soapy water around the stem base
• Inspect bead area
• Monitor pressure over 24 hours
If pressure remains stable and no bubbles form, sealing integrity is confirmed.
Safety Considerations
Improper bead handling may cause:
• Bead wire damage
• Rim distortion
• Sudden air release during inflation
Always stand to the side during inflation. Never inflate a partially seated bead beyond recommended pressure.
If the vehicle uses an integrated tpms valve stem system, sensor relearning may be required after replacement. Clamp-in TPMS stems must always be serviced according to torque specifications.
When Professional Service Is Advisable
Professional tire equipment is recommended when:
• The vehicle uses metal TPMS clamp-in stems
• The rim hole is corroded
• The bead cannot be separated safely
• High-pressure commercial tires are involved
Incorrect installation can lead to rapid deflation, sensor damage, or rim leakage.
Technical Conclusion
A tyre valve stem leak can often be repaired without full tire removal when the issue is limited to the valve core or a rubber snap-in stem. Proper bead access, correct tooling, and controlled installation are essential to maintain sealing performance.
Metal clamp-in tpms valve stem systems typically require full demounting for safe replacement.
Accurate leak diagnosis, material compatibility, and dimensional precision determine long-term reliability. By controlling rubber formulation, machining tolerances, and corrosion resistance, fortune supplies tire valves engineered to maintain pressure stability across passenger and commercial vehicle applications.
FAQ
How long does it take to change a tire valve stem without removing the tire?
You can usually finish this job in 20 to 40 minutes. If you have all your tools ready and follow each step, you will save time. Practice makes the process even faster.
Can I drive with a leaking valve stem?
You should not drive with a leaking valve stem. Air can escape quickly, and you might end up with a flat tire. This can damage your wheel or cause an accident. Always fix leaks before driving.
What type of valve stem should I use for my car?
Most passenger cars use tubeless rubber snap-in valve stems. Trucks or high-performance vehicles may need metal or high-pressure stems. Check your owner’s manual or ask a tire professional if you are unsure.
Do I need to balance my tire after changing the valve stem?
You do not always need to rebalance your tire after changing the valve stem. If you did not remove the tire from the rim or add wheel weights, your balance should stay the same. If you feel vibration, get your tire checked.
Tip: Always use a quality valve stem from a trusted brand like Fortune for the best results.
