
admin1
July 23, 2025
Best Practices for Replacing a Valve Stem Core Step by Step
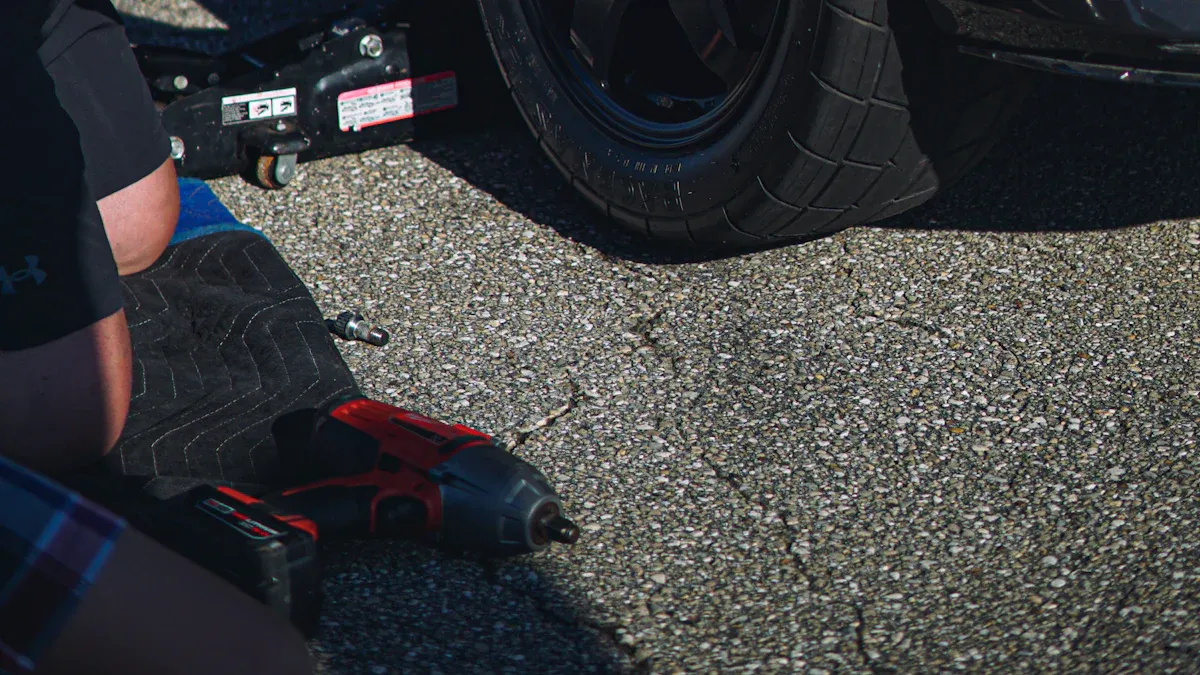
You can replace a valve stem core safely by using the right tools and following clear steps. Always wear safety glasses and gloves to protect yourself. When you install a new valve stem core, you help keep your tires sealed and your vehicle safe. Good practices prevent air leaks and help your tires last longer.
Remember, careful work keeps your tires in top condition and supports safe driving every day.
Why Proper Valve Stem Core Replacement Matters
Preventing Air Leaks
You want your tires to hold air well. A faulty valve stem core can cause a leak, which lets air escape from your tire. Even a small problem with the tire valve stem can lead to a slow leak. This slow loss of air can make your tire pressure drop over time. When you replace the valve stem core correctly, you stop air from leaking out. You keep your tires at the right pressure, which helps your car drive smoothly.
Tip: Use soapy water to check for bubbles around the tire valve stem after you finish the replacement. Bubbles mean you still have a leak.
A leaking tire valve stem can cause you to refill your tires more often. You may also notice your tire looks flat or feels soft. If you ignore a leak, you risk damaging your tire and making your car unsafe.
Ensuring Tire Safety and Longevity
You protect your tires when you replace the valve stem core the right way. Good tire pressure helps your tires wear evenly. Uneven wear can shorten the life of your tires. When you fix a leaking tire valve stem, you help your tires last longer.
A proper valve stem core replacement also keeps you safe. Low tire pressure can make your car harder to control. It can also increase the chance of a blowout. You avoid these risks by checking your tire valve stem and fixing any problems right away.
- Regular checks help you spot leaks early.
- Quick repairs keep your tires in good shape.
- Safe tires mean safer trips for you and your family.
You should always use quality parts and follow each step carefully. This way, you keep your tires strong and your rides smooth.
Tools and Materials Needed for Valve Stem Core Replacement

Before you start replacing a valve stem core, you need to gather the right tools and materials. Using the correct equipment helps you work safely and get the best results. Here is what you need:
Valve Core Tool
You use a valve core tool to remove and install the valve stem core. This tool looks like a small screwdriver with a special tip. The tip fits perfectly into the valve stem core, so you can turn it easily. You should always use a valve core tool because it prevents damage to the valve stem. If you try to use pliers or another tool, you might strip the threads or break the core. Many auto parts stores sell valve core tools, and they are affordable. Some tire repair kits include this tool.
Tip: Keep a valve core tool in your glove box or toolbox. You never know when you might need it for a quick fix.
Replacement Valve Stem Core
You need a replacement core if the old one is damaged or leaking. Valve stem cores are small, but they play a big role in keeping air inside your tire. Always choose a high-quality replacement core from a trusted brand. This helps prevent future leaks and keeps your tire pressure steady. Make sure the new core matches the type used in your tire valve. Most cars use standard Schrader valve cores, but some bikes or specialty tires use different types.
Tire Pressure Gauge
A tire pressure gauge lets you check the air pressure in your tire before and after you replace the valve stem core. You should use a tire pressure gauge to make sure your tire has the right amount of air. Low or high pressure can cause problems with handling and tire wear. There are digital and analog tire pressure gauges. Both types work well if you use them correctly. Always check your tire pressure after you finish the repair. This step helps you catch any leaks and keeps your tires safe.
Note: Checking your tire pressure with a tire pressure gauge is a simple way to keep your tires in good shape and avoid surprises on the road.
Air Compressor or Pump
You need an air compressor or a manual pump to refill your tire after you replace the valve stem core. An air compressor works quickly and gives you precise control over the air pressure. Many gas stations have air compressors you can use for a small fee. If you work at home, a portable air compressor makes the job easier. You can also use a manual pump, especially for bikes or smaller tires. Manual pumps take more effort, but they work well if you do not have access to electricity.
Tip: Always check the recommended tire pressure for your vehicle. You can find this information on a sticker inside the driver’s door or in your owner’s manual.
A good air compressor or pump helps you reach the correct tire pressure. This step keeps your tires safe and helps them last longer.
Safety Glasses and Gloves
You should always wear safety glasses and gloves when you replace a valve stem core. Safety glasses protect your eyes from dust, debris, or sudden bursts of air. Gloves keep your hands safe from sharp edges and dirt. They also give you a better grip on your tools.
- Safety glasses block flying particles.
- Gloves prevent cuts and keep your hands clean.
Note: Even a small piece of metal or rubber can cause injury. Protect yourself every time you work on your tires.
Soapy Water for Leak Detection
Soapy water helps you find leaks after you install the new valve stem core. Mix a few drops of dish soap with water in a spray bottle. Spray the soapy water around the valve stem and the base of the tire. Watch for bubbles. Bubbles mean air is escaping.
- No bubbles? Your repair worked.
- Bubbles? You need to tighten the core or check for damage.
Using soapy water is a simple and effective way to make sure your tire holds air. This step gives you peace of mind before you drive.
Step-by-Step Guide to Replacing a Valve Stem Core
Step 1: Identify the Valve Stem Core Problem
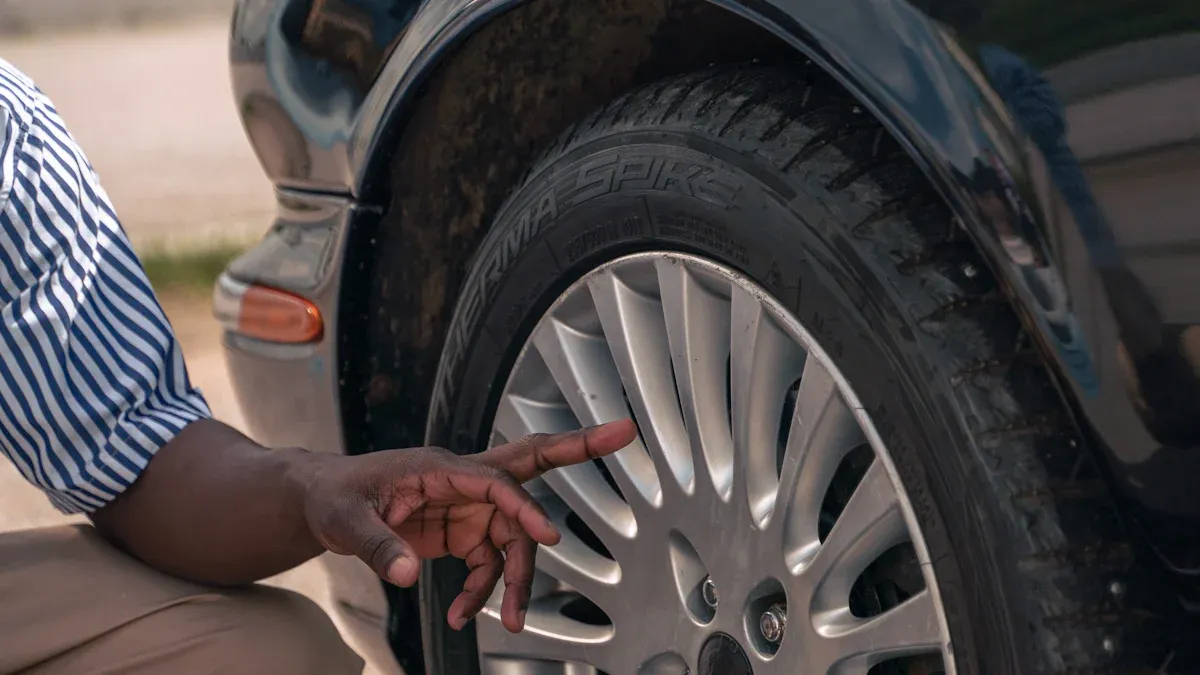
You need to find out if your tire valve stem is causing issues. Start by looking at your tire. If you see that your tire looks flat or you hear a hissing sound, you might have a problem with the valve stem core. Use a tire pressure gauge to check the air pressure. If the pressure drops quickly after filling the tire, the valve stem core could be leaking.
You can also use soapy water for a simple test. Mix water with a few drops of dish soap. Put the soapy water on the valve stem. Watch for bubbles. If you see bubbles, air is escaping. This means you need a valve core replacement. Always check for dirt or damage around the valve stem. Dirt can stop the core from sealing well.
Tip: If you notice your tire loses air often, check the valve stem core first before looking for other problems.
Step 2: Prepare the Tire and Release Air
Before you start the replacement, make sure your car is parked on a flat surface. Turn off the engine and set the parking brake. Wear safety glasses and gloves to protect yourself. Remove the valve cap from the tire valve stem.
You need to release the air from the tire. Use the tip of your valve core tool or a small object to press down on the valve stem core. Air will start to come out. Let all the air escape. This step makes it safe to remove the old core. If you skip this, the core could shoot out quickly and cause injury.
Note: Always release the air slowly. This keeps you safe and prevents damage to the tire.
Step 3: Remove the Old Valve Stem Core
Now you are ready to remove the old valve stem core. Take your valve core tool and fit it onto the core inside the tire valve stem. Turn the tool counterclockwise. The core will unscrew and come out easily. Keep the old core in a safe place until you finish the job.
Look at the old core. If you see rust, dirt, or damage, you made the right choice to do a replacement. Sometimes, the core may look fine but still leak. Always use a new replacement core for the best results.
Tip: Never use pliers or other tools to remove the core. Only use a valve core tool. This prevents damage to the valve stem and makes the valve core replacement easier.
You have now finished the first steps. You identified the problem, prepared the tire, and removed the old valve stem core. You are ready to install the new core and finish the job.
Step 4: Install the New Valve Stem Core
You have removed the old core. Now you need to install the new stem. Take the replacement valve stem core and hold it with your fingers. Place it gently into the valve stem opening. Use your valve core tool to turn the new core clockwise. Turn it until you feel it stop. Do not force it. Over-tightening can damage the threads or make the core hard to remove later.
Tip: Tighten the core just enough so it feels snug. If you use too much force, you might strip the threads or cause a future leak.
Check that the new core sits straight in the valve stem. If it feels loose or crooked, remove it and try again. A straight fit helps the core seal tightly. This step is important for a successful valve core replacement. Always use a quality replacement core from a trusted brand. This helps prevent problems and keeps your tire holding air.
Step 5: Re-inflate the Tire
After you finish installing the new core, you need to re-inflate the tire. Attach your air compressor or manual pump to the valve stem. Add air slowly. Watch the tire as it fills. Use a tire pressure gauge to check the pressure often. Stop when you reach the recommended pressure for your vehicle. You can find this number on a sticker inside the driver’s door or in your owner’s manual.
- If you add too much air, press the valve to let some out.
- If you do not add enough, the tire will look soft and may not drive well.
Note: Always double-check the pressure after you re-inflate the tire. Proper pressure helps your tires last longer and keeps your ride safe.
Step 6: Check for Leaks
Now you need to make sure your repair worked. Checking the leak is a key step. Use a soapy water solution for this test. Mix a few drops of dish soap with water in a spray bottle. Spray the solution around the valve stem and the base of the tire. Watch closely for bubbles. Bubbles mean air is escaping and you still have a leak.
Here are the most reliable ways to check for leaks after installing a new valve stem core:
- Spray soapy water around the valve core and valve stem area. Look for bubbles.
- Inflate the tire fully before testing.
- Tighten the valve core gently with your tool if you see small bubbles.
- If bubbles do not stop, remove the core and use another replacement.
- If you cannot stop the leak, visit a tire shop for help.
Callout: Bubble testing with soapy water is simple and effective. Most tire shops use this method because it works well.
If you see no bubbles, your replacement worked. Your tire should now hold air without problems. Always finish by putting the valve cap back on. This keeps dirt and water out of the valve stem.
Step 7: Verify Correct Tire Pressure
After you finish installing the new valve stem core and checking for leaks, you need to make sure your tire has the correct air pressure. This step keeps your tires safe and helps them last longer. Driving with the wrong tire pressure can cause uneven wear, poor handling, and even tire failure.
Follow these steps to verify and adjust your tire pressure:
Find the Recommended Tire Pressure
Look for the recommended tire pressure for your vehicle. You can find this information on a sticker inside the driver’s door or in your owner’s manual. Most passenger cars use a pressure between 30 and 35 PSI (pounds per square inch), but always check your specific number.Use a Tire Pressure Gauge
Remove the valve cap and press the tire pressure gauge onto the valve stem. Hold it firmly to get an accurate reading. Read the number on the gauge. Digital gauges show the number on a screen. Analog gauges use a needle.Compare the Reading
Check if the number matches the recommended pressure. If the pressure is too low, add air using your compressor or pump. If the pressure is too high, press the valve stem to let out some air. Check the pressure again after each adjustment.Repeat for All Tires
Always check all four tires. Sometimes, more than one tire needs air. If you have a spare tire, check that one too.Replace the Valve Cap
When you finish, put the valve cap back on. This keeps dirt and moisture out of the valve stem.
Tip: Check your tire pressure when the tires are cold. Heat from driving can make the pressure go up and give you a false reading.
Why Correct Tire Pressure Matters
- Proper tire pressure helps your car handle well and stop safely.
- You save money because your tires last longer and your car uses less fuel.
- Low pressure can make your tires overheat and fail.
- High pressure can make your ride rough and cause uneven tire wear.
Sample Table: Recommended Tire Pressures
| Vehicle Type | Typical PSI Range |
|---|---|
| Passenger Car | 30 – 35 |
| Light Truck/SUV | 35 – 45 |
| Bicycle | 40 – 65 |
Always use the number from your vehicle’s sticker or manual.
Quick Checklist:
- [ ] Locate the recommended PSI for your vehicle.
- [ ] Use a reliable tire pressure gauge.
- [ ] Adjust air as needed.
- [ ] Check all tires, including the spare.
- [ ] Replace the valve cap.
You keep your tires in top shape when you check and set the correct pressure. This simple step helps you drive safely and protects your investment in your vehicle.
Tips and Cautions to Prevent Valve Stem Core Leak
Avoiding Over-Tightening the Valve Stem Core
You want to keep your tire safe and free from leaks. When you install a new valve stem core, you should avoid over-tightening it. If you turn the core too much, you can damage the threads inside the tire valve stem. This damage can cause a leak or make future repairs harder. Use your valve core tool and stop turning as soon as you feel resistance. The core should feel snug, not forced.
Tip: If you use a torque tool, set it to the manufacturer’s recommended value. Most valve stem cores need only a small amount of force.
Preventing Dirt and Debris Entry
Dirt and debris can cause problems inside your tire valve stem. If you let dirt get in, it can stop the core from sealing well. This can lead to a leaking tire valve stem. Always keep the valve cap on when you finish a valve core replacement. The cap acts as a shield and keeps out dust, water, and small stones.
- Clean the area around the valve before you remove the core.
- Store the valve cap in a safe place while you work.
- Replace the cap right after you finish.
Note: A missing valve cap is a common reason for dirt getting inside the valve stem.
Using the Right Tools for Valve Stem Core Replacement
You need the right tools for a safe and effective replacement. A valve core tool fits the core perfectly and helps you avoid damage. If you use pliers or other tools, you might strip the threads or break the core. Always choose tools made for tire repair. Quality tools help you finish the job faster and lower the risk of a leak.
Callout: Using the correct tool protects your tire and makes the valve core replacement process easier.
You protect your tires and keep your vehicle safe when you follow these tips. Careful work and the right tools help you avoid problems and keep your tires in top shape.
Double-Checking for Leaks
You want to make sure your tire repair holds up. Double-checking for leaks is a smart step that helps you avoid problems on the road. Even after you install a new valve stem core, a small leak can still happen. You might not notice a slow leak right away, but it can cause your tire to lose air over time. This can lead to a flat tire or poor handling.
To double-check for leaks, follow these steps:
Inflate the Tire
Fill your tire to the recommended pressure. Use a tire pressure gauge to get an accurate reading.Apply Soapy Water
Mix a few drops of dish soap with water in a spray bottle. Spray the soapy water around the valve stem, especially where you installed the new core.Watch for Bubbles
Look closely at the valve stem. If you see bubbles forming, air is escaping. This means you have a leak. If you do not see bubbles, your repair is likely good.Listen for Hissing
Sometimes you can hear a faint hissing sound. This sound often means you have a leaking tire valve stem. Use your ear to check if you cannot see bubbles.Check Tire Pressure Again
Wait a few minutes, then use your tire pressure gauge to check the pressure again. If the number drops, you may have a slow leak.
Tip: Always keep a valve cap on the stem after testing. The cap helps protect against dirt and moisture.
If you find a leak, try tightening the valve core gently. If the leak continues, replace the core with a new one. Never ignore a leaking tire valve stem. Quick action keeps your tires safe and helps you avoid bigger problems later.
Common Mistakes to Avoid When Replacing a Valve Stem Core
Skipping Leak Checks
You might think your job is done after installing a new valve core, but skipping a leak check can lead to trouble. Air leaks can be small and hard to spot without testing. If you do not check for leaks, your tire could lose air slowly. This can make your car harder to control and wear out your tires faster. Always spray soapy water around the valve area and watch for bubbles. Bubbles mean air is escaping. If you see them, tighten the core or try a new one.
Tip: Make leak checks a habit every time you work on a tire valve stem. This simple step can save you from flat tires and unsafe driving.
Using Damaged or Wrong Valve Stem Cores
Choosing the wrong core or using a damaged one can cause leaks or even damage the valve. Not all valve cores are the same. Some are made for cars, others for bikes or trucks. If you use the wrong type, it may not fit or seal properly. Damaged cores can have bent pins, worn rubber seals, or rust. These problems stop the core from holding air. Always inspect the new core before installing it.
- Check for straight pins and clean threads.
- Make sure the rubber seal looks fresh.
- Match the core to your tire’s needs.
Callout: Using the right, undamaged core helps your tire hold air and keeps you safe on the road.
Not Wearing Safety Gear
You may feel tempted to skip safety gear, but this mistake can lead to injuries. When you remove a valve core, air can rush out quickly. Small parts can fly out and hit your eyes. Dirt and chemicals can also get on your skin. Always wear safety glasses and gloves. Glasses protect your eyes from flying debris. Gloves keep your hands safe from sharp edges and chemicals.
Safety first! Protect yourself every time you work on tires.
Maintaining Proper Tire Pressure After Valve Stem Core Replacement
How Often to Check Tire Pressure
You should check your tire pressure regularly to keep your tires in good shape. Most experts recommend checking your tire pressure at least once a month. You also want to check before long trips or when the weather changes. Cold air can lower tire pressure, while hot weather can make it rise.
Here is a simple schedule you can follow:
| Situation | When to Check Tire Pressure |
|---|---|
| Regular driving | Once a month |
| Before long road trips | Before you leave |
| After big temperature changes | Right away |
| If your tire looks low | As soon as possible |
Tip: Always check your tire pressure when the tires are cold. Driving heats up the air inside and can give you a false reading.
You can use a digital or analog tire pressure gauge. Both work well if you use them correctly. Keeping your tires at the right pressure helps you save fuel, drive safely, and make your tires last longer.
Signs of a Faulty Valve Stem Core
A faulty valve stem core can cause problems even after you replace it. You need to know the signs so you can fix issues early.
Look for these warning signs:
- Your tire loses air quickly after filling.
- You hear a hissing sound near the valve stem.
- You see bubbles when you spray soapy water on the valve.
- The tire pressure warning light comes on often.
- The valve stem feels loose or wobbly.
Alert: If you notice any of these signs, check the valve stem core right away. A small leak can turn into a flat tire if you ignore it.
You keep your tires safe by watching for these signs and acting fast. Regular checks help you catch problems early and avoid bigger repairs later.
You can keep your tires safe and long-lasting by following each step for valve stem core replacement.
- Use the right tools and check for leaks every time.
- Wear safety gear and avoid over-tightening the core.
- Test your tire pressure often for the best performance.
Tip: Choose quality valve stem cores from trusted brands like Fortune. Reliable parts help you drive with confidence and keep your vehicle in top shape.
FAQ
How do you know if your valve stem core is leaking?
You can spray soapy water on the valve stem. If you see bubbles forming, air is escaping. You may also hear a faint hissing sound. A tire that loses air quickly often has a leaking valve stem core.
Can you replace a valve stem core without removing the tire?
Yes, you can. You only need to remove the valve cap and release the air from the tire. Use a valve core tool to take out the old core and install a new one. You do not need to remove the tire from the wheel.
How tight should you install a valve stem core?
You should turn the valve stem core until it feels snug. Do not force it. Over-tightening can damage the threads or cause leaks. Most valve stem cores need only light hand pressure with the correct tool.
What happens if you drive with a faulty valve stem core?
A faulty valve stem core can cause your tire to lose air. Low tire pressure can lead to poor handling, uneven tire wear, or even a blowout. You should fix a leaking valve stem core as soon as possible for your safety.
Which tools work best for valve stem core replacement?
A valve core tool works best. This tool fits the core perfectly and helps you avoid damage. You should also use a tire pressure gauge and an air compressor or pump. Quality tools make the job easier and safer.
